 Aniket Bindhani Blog
How to set up theImageGPT project locally
Hey guys, If you are reading this article right now I am glad you took an interest in trying out my small project.
For the first step fork and clone the GitHub repository:
https://github.com/<your github username>/theImageGpt
Navigate to the project folder
cd theImageGpt
Then install the required packages using npm by running the following command
npm i
Now create the .env file
cp .env.sample .env
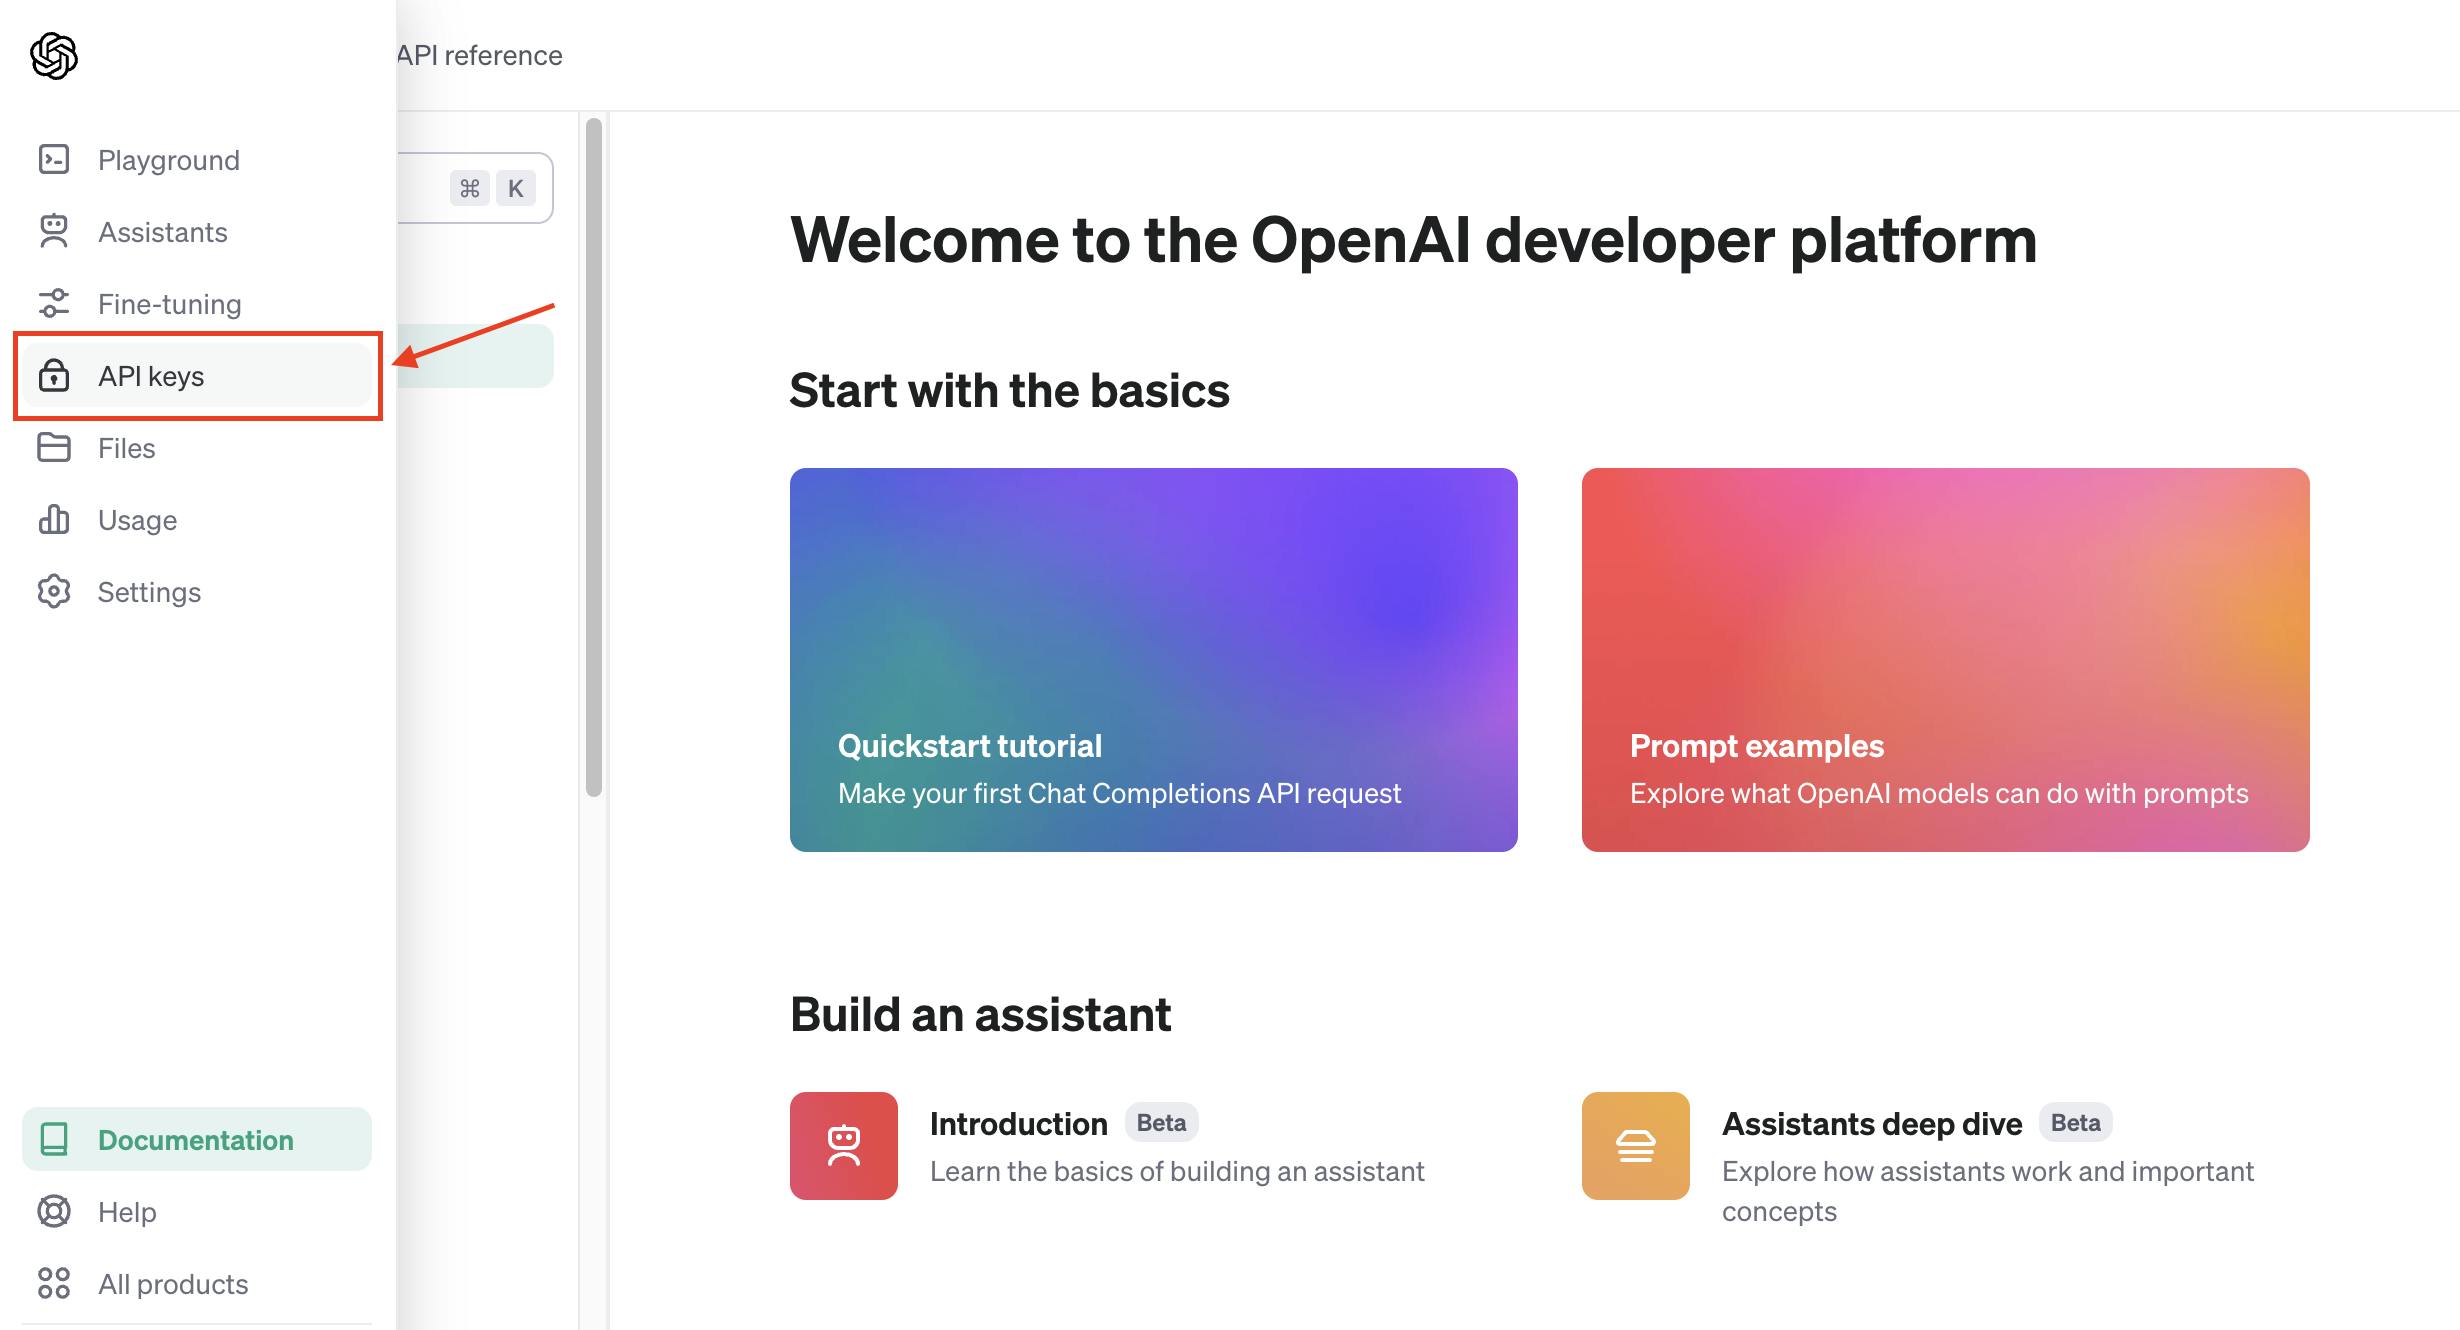
We have used several environment variables, most of which are from different external sources. This project has been made using openai API. So first you need to create an account in openai and retrieve your API key.
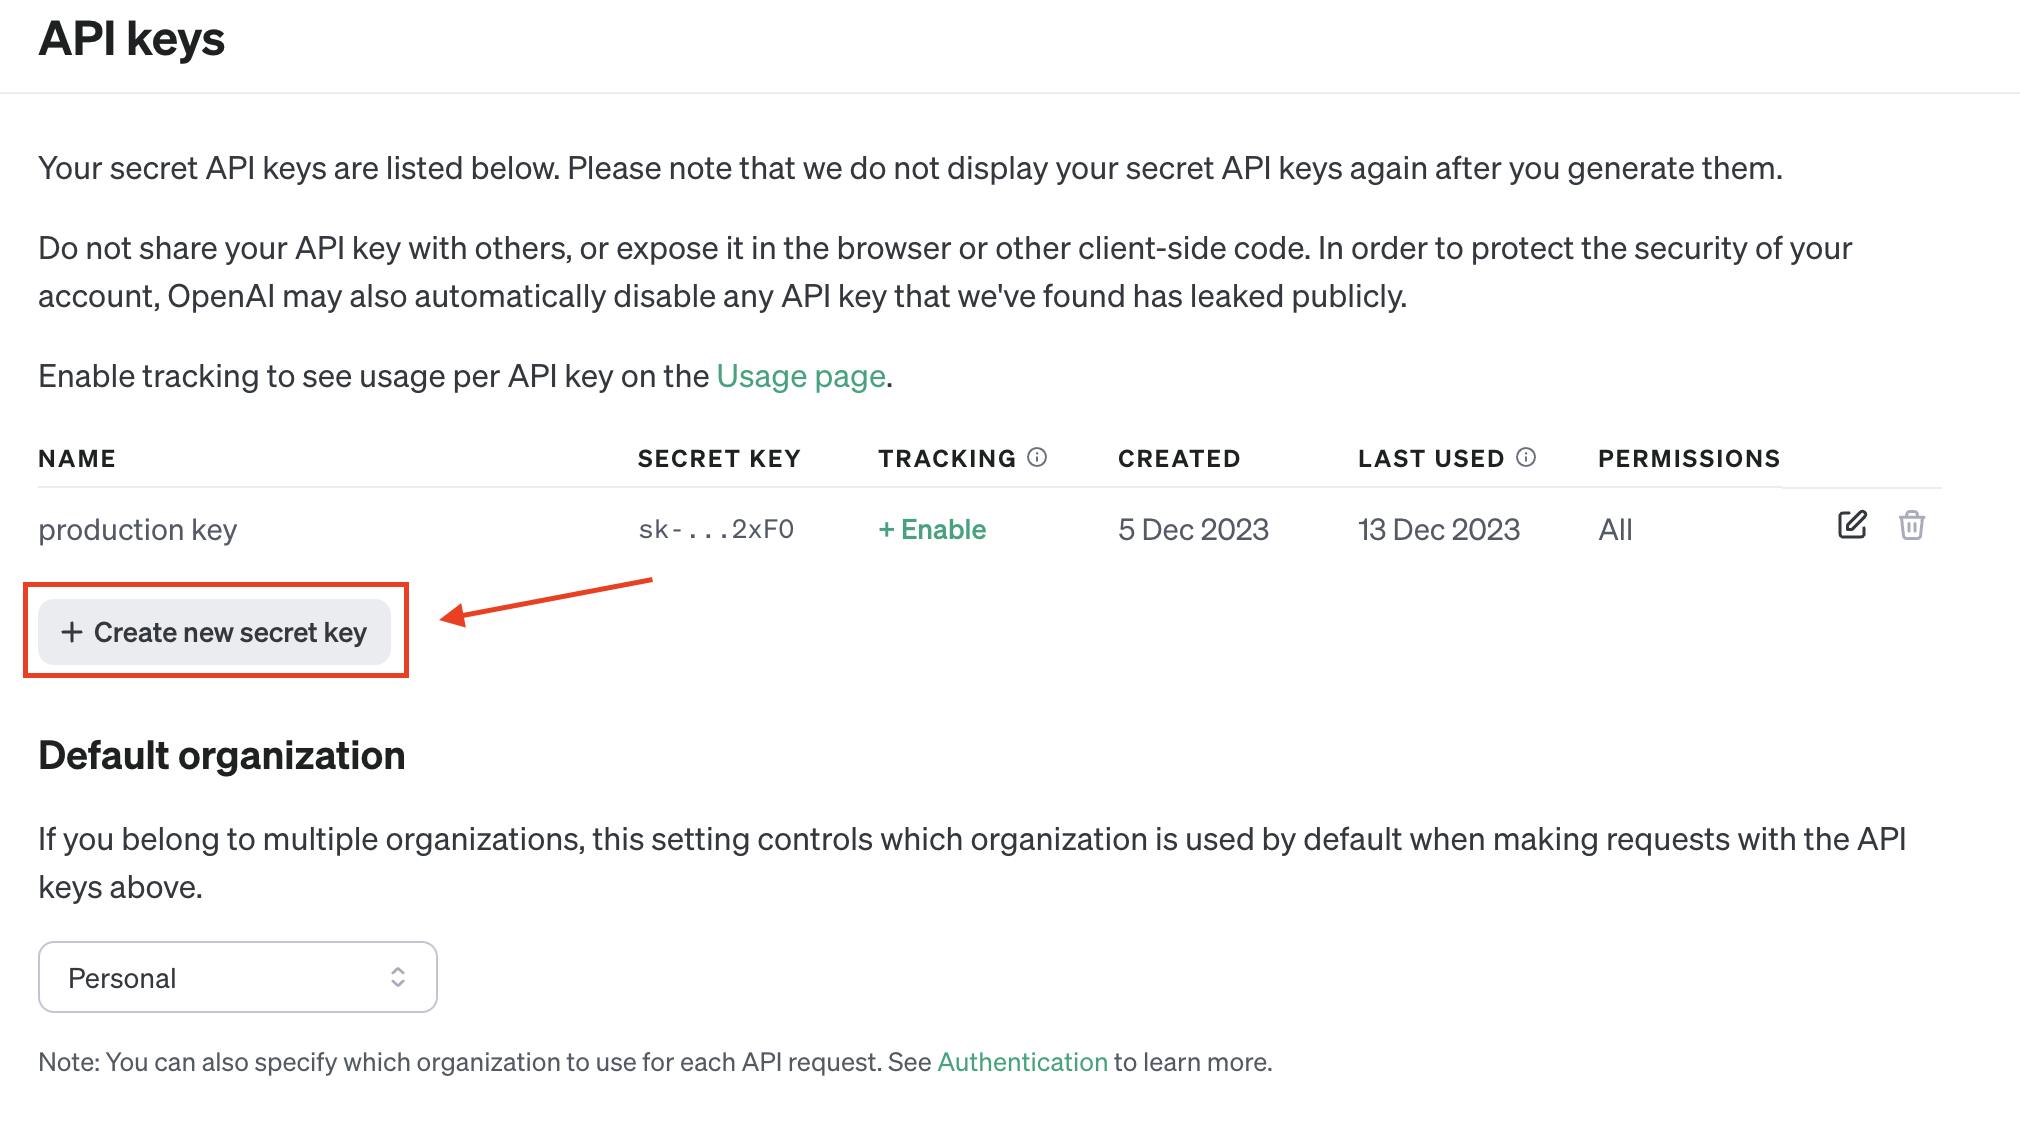
Copy the key and paste it into the .env file.
Now we need to set up the database to store the API limit of the user. In this project when a new user creates an account they get 5 free credits to generate images where 1 image generation costs 1 credit. So we need to store and count the credits for each user. In this project, we have used a Postgres database from planetscale.
Note:
When I created this project planetscale had a free tier plan in India, but currently, they are not offering the free plan in India.
If you are from any other place and have access to the free plan, you can follow the tutorial further.
Visit the planetscale website and create an account, then click Create a new database.
Give a database name and then leave everything as default, then click on Create.
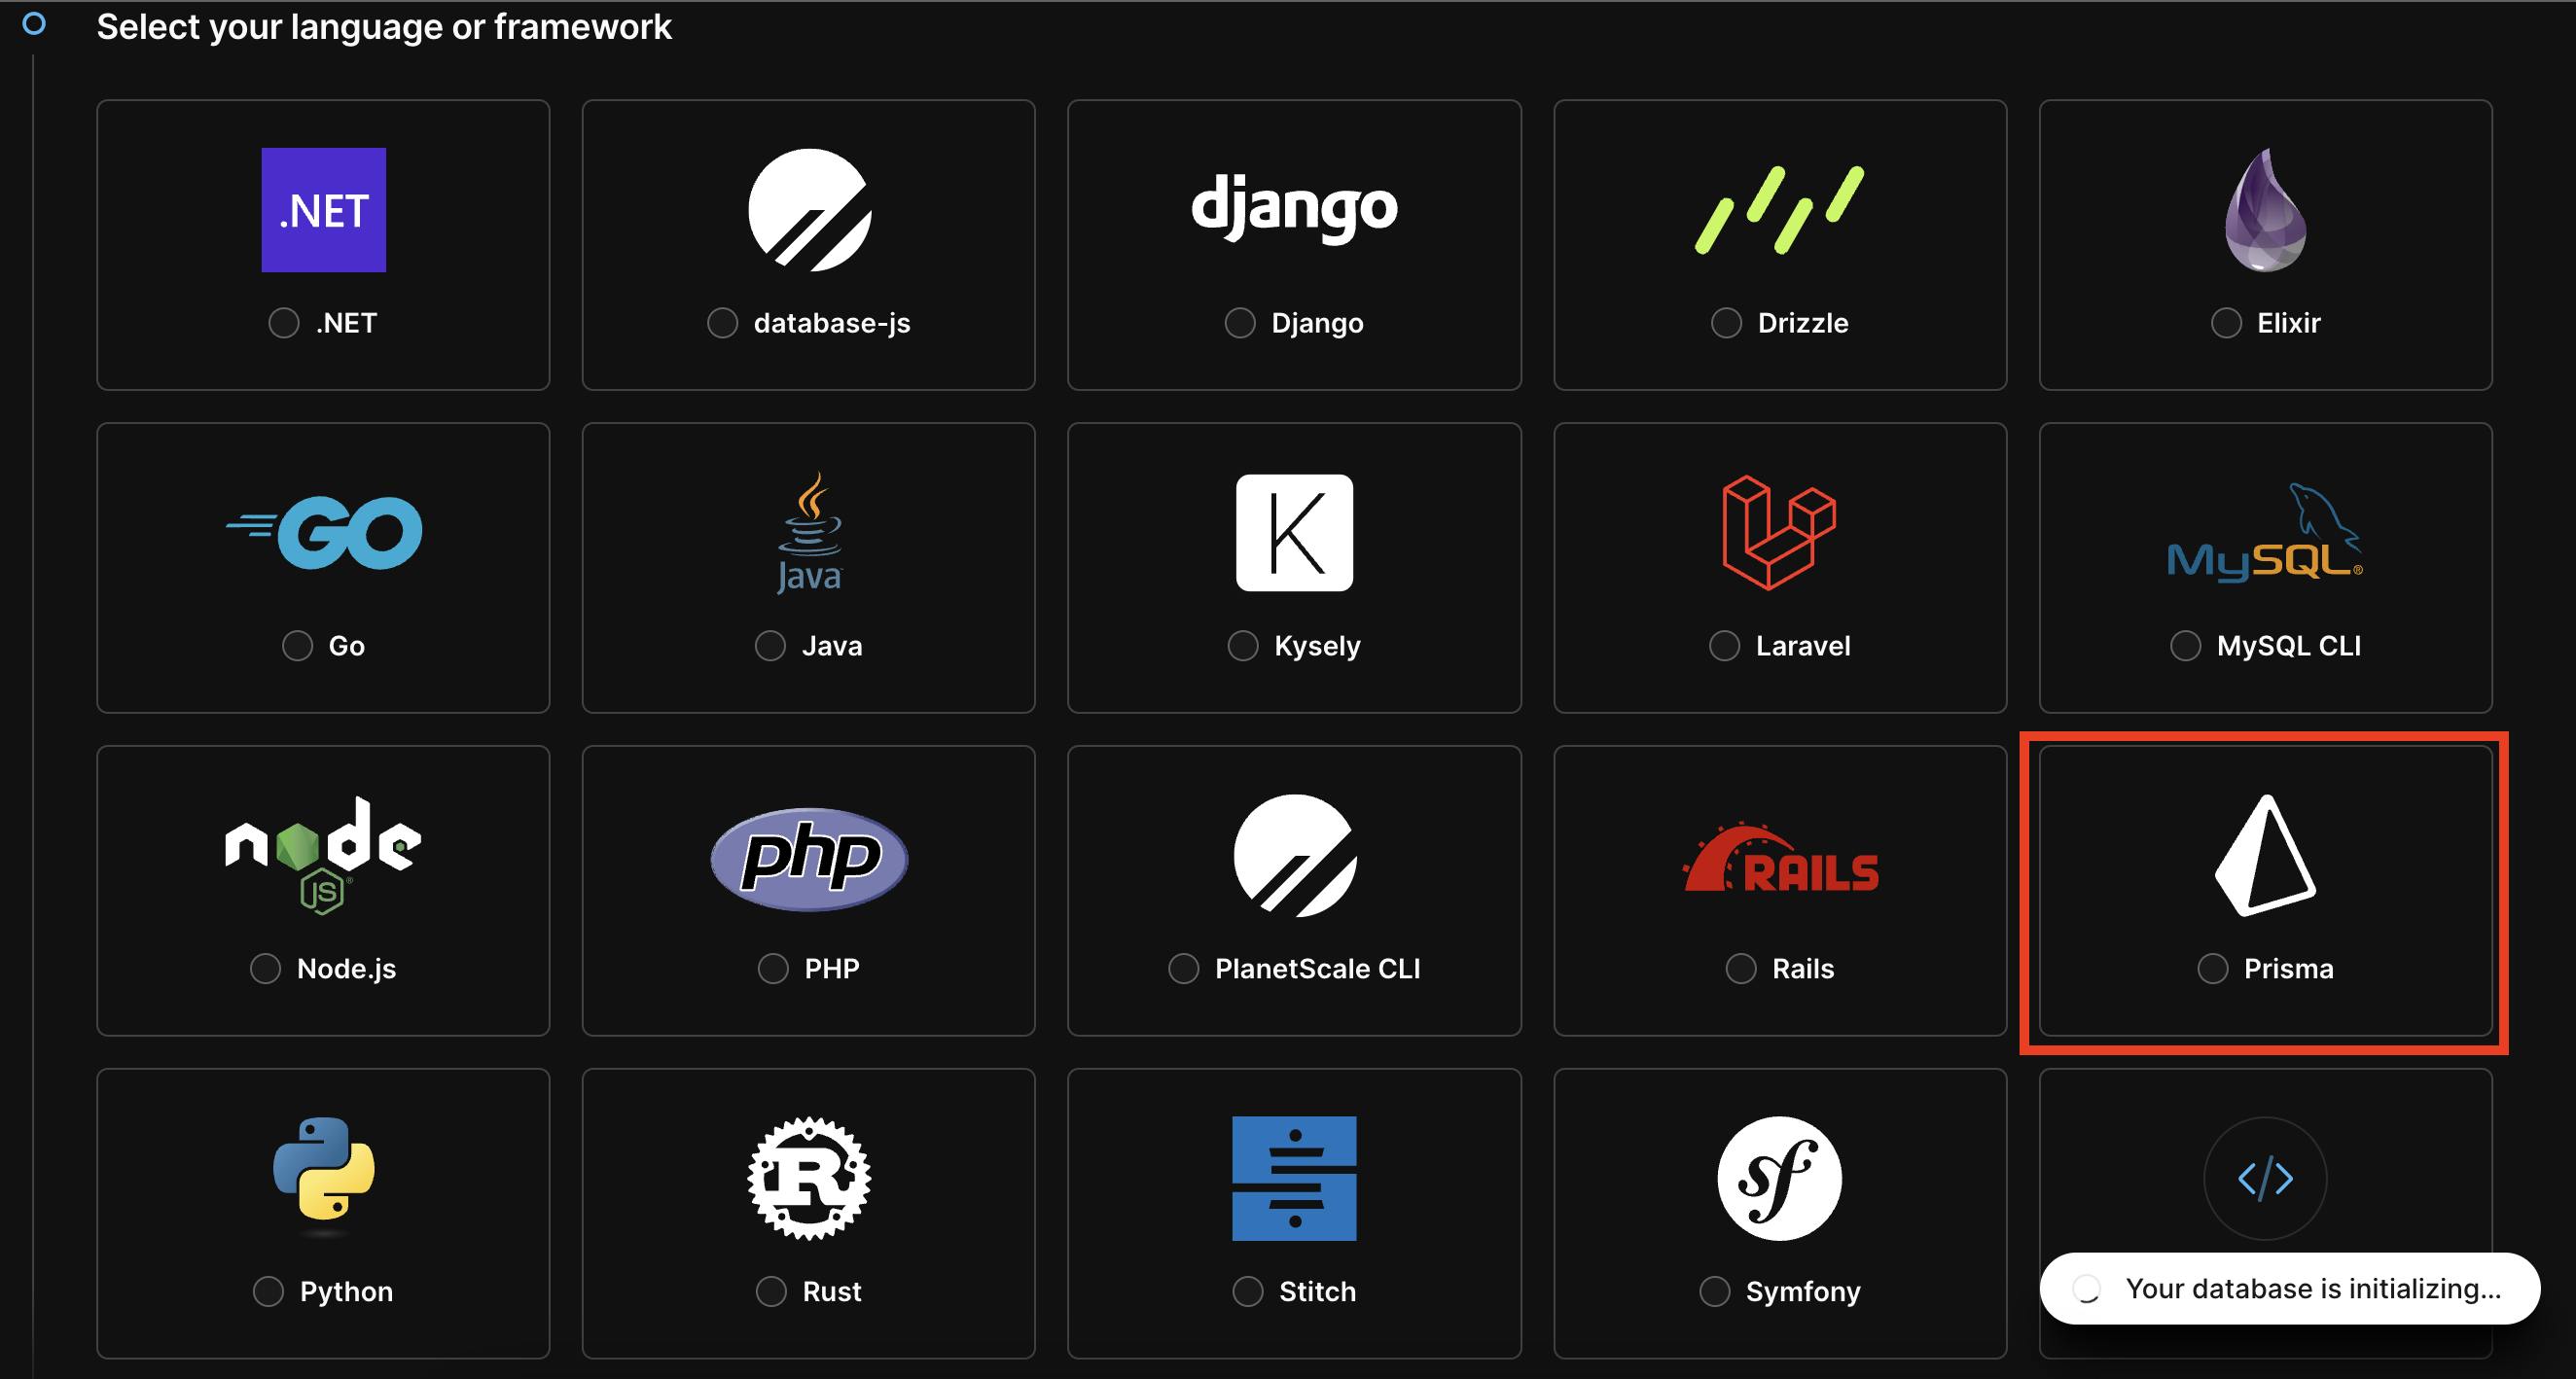
Select Prisma here cause we are going to use this for the project.
Now create a password below
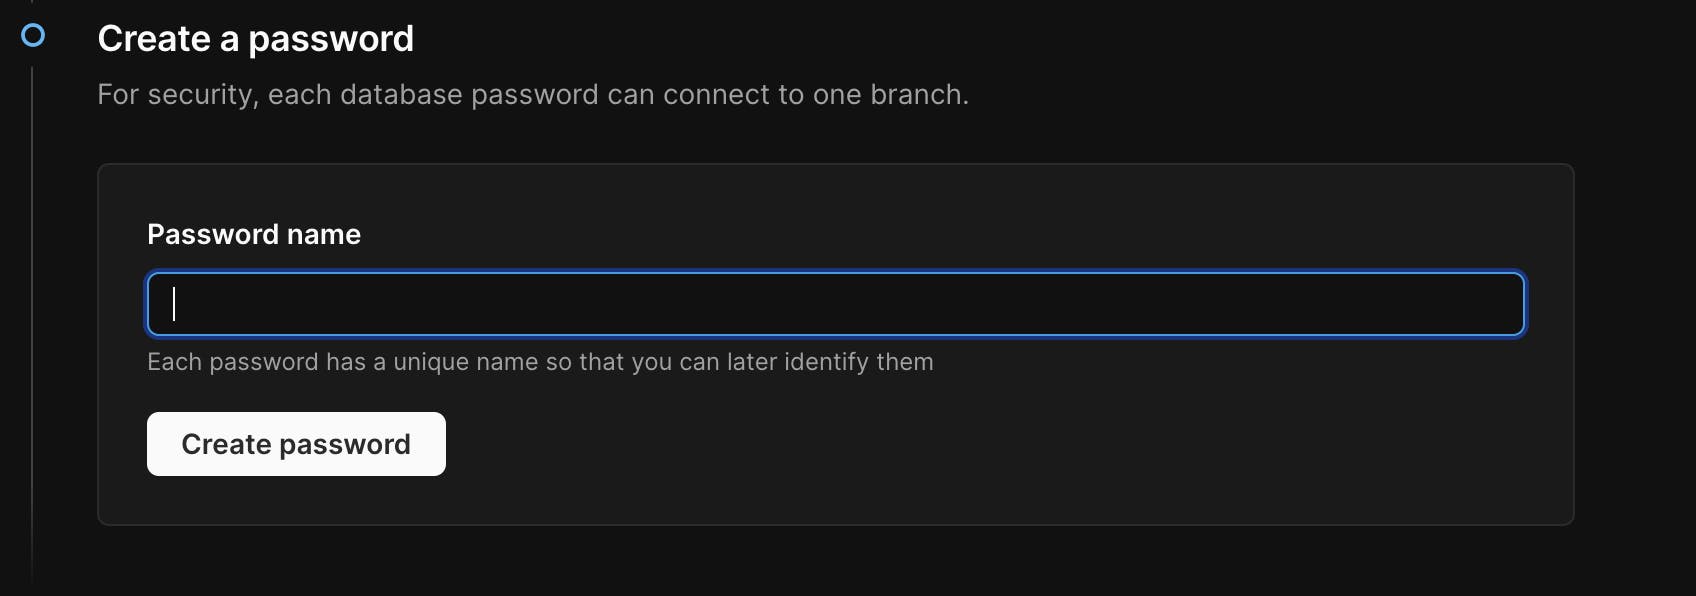
After that below you would get the database URL which you need to copy and put into the .env file.
Now, the database part has been completed. We need to set up the authentication now.
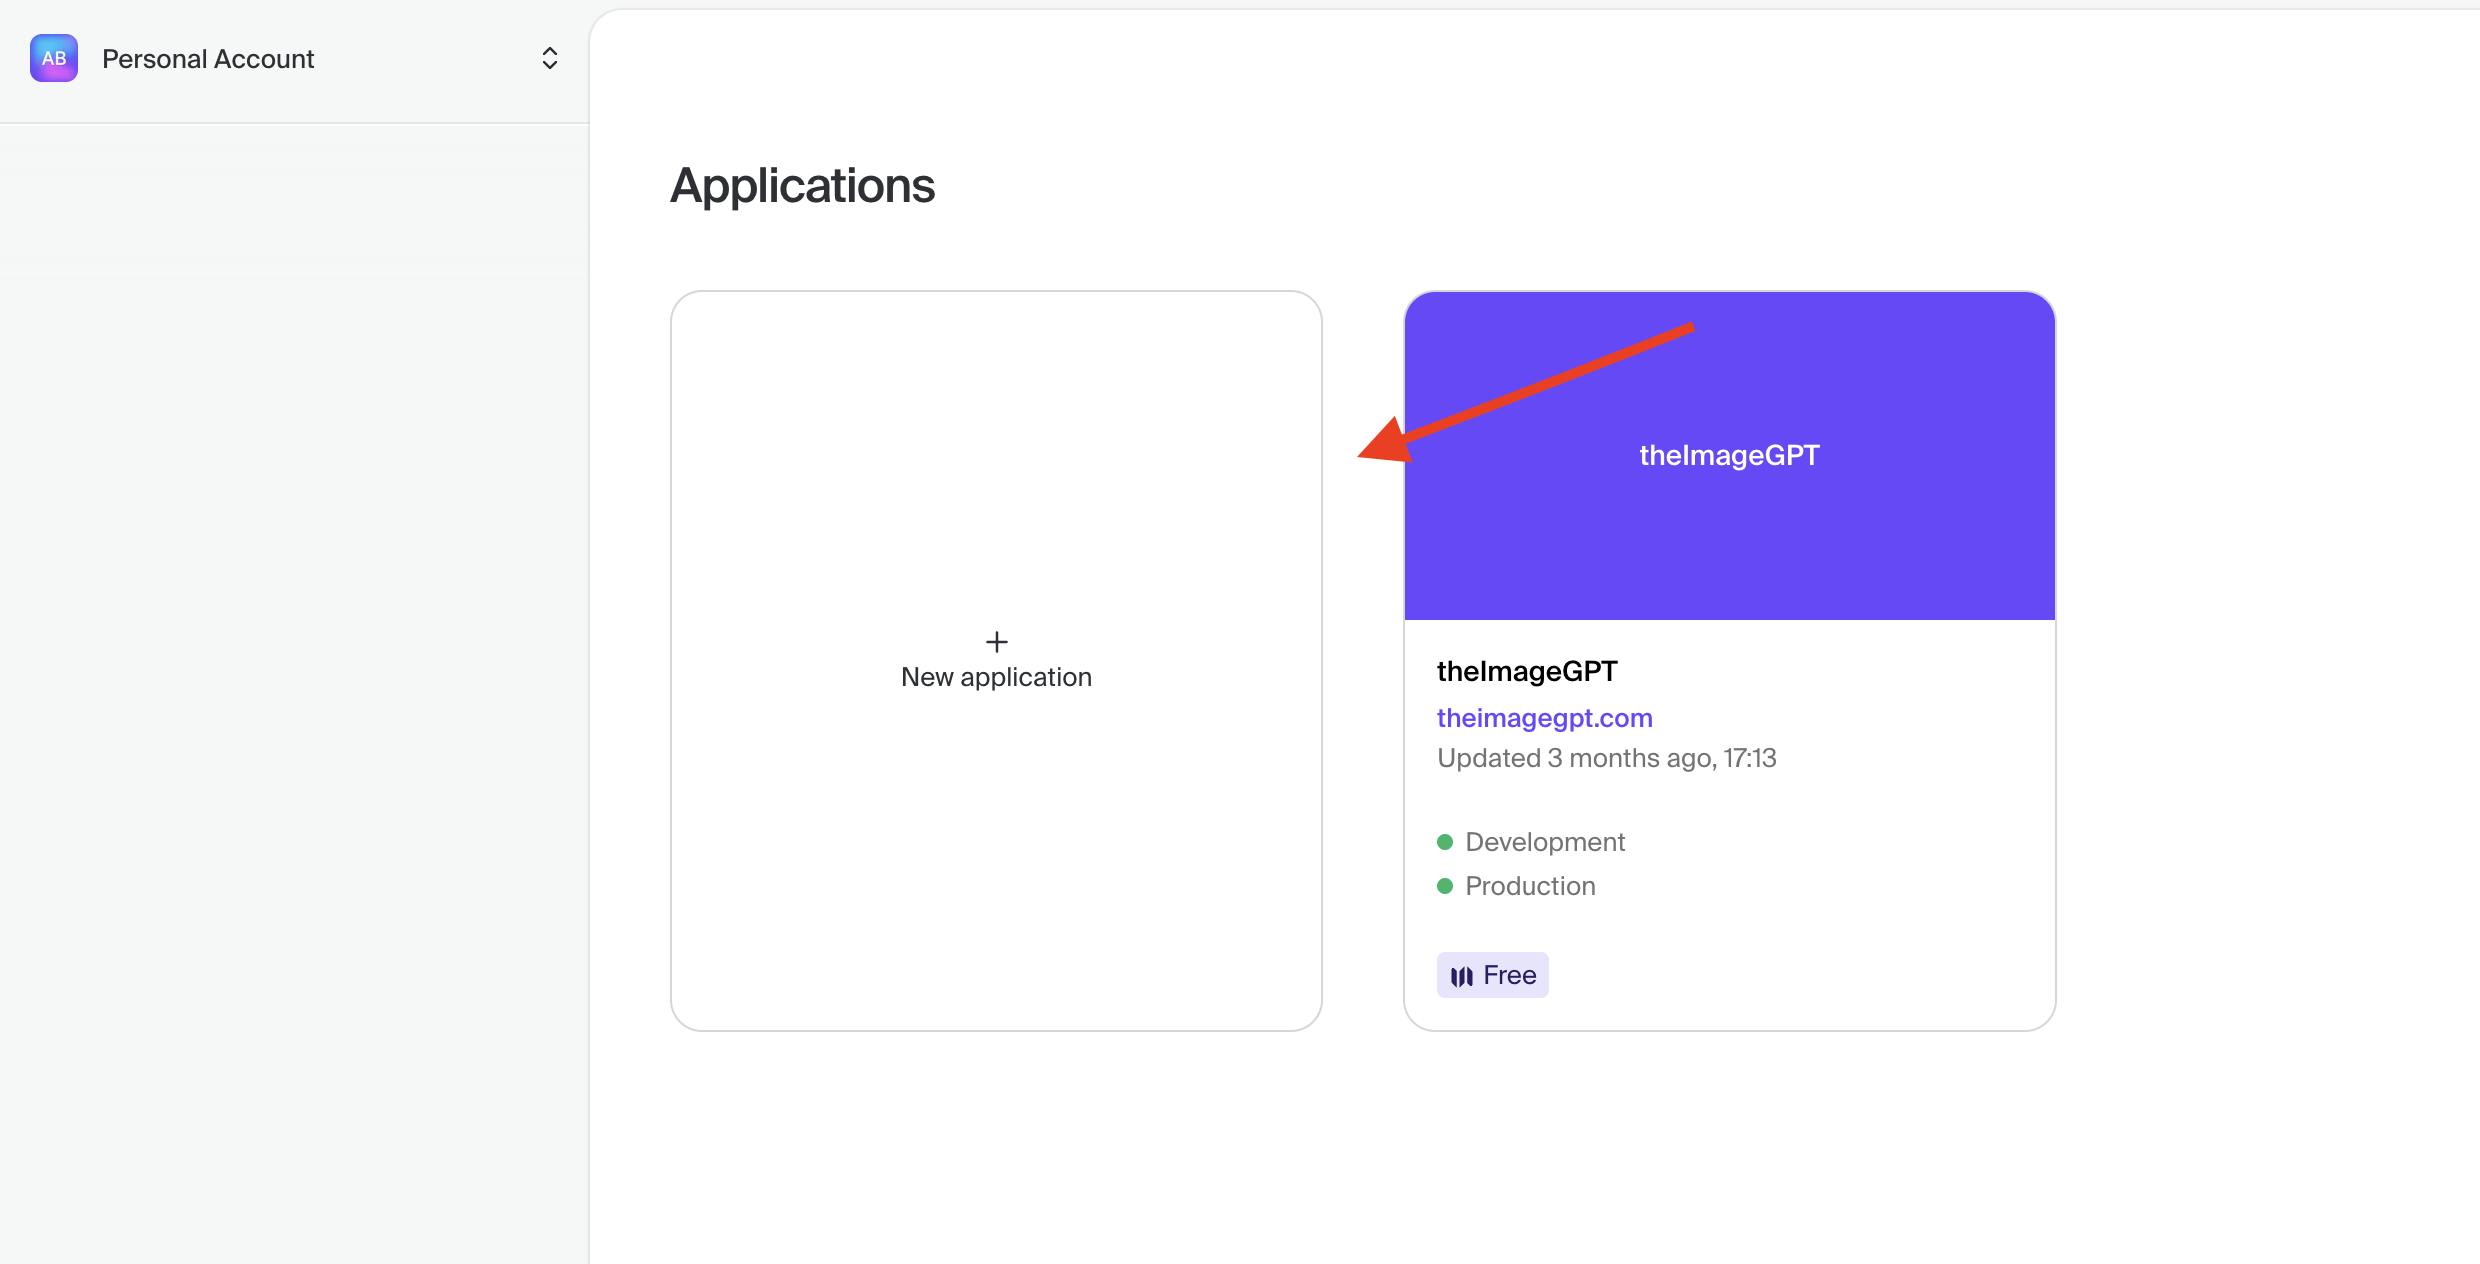
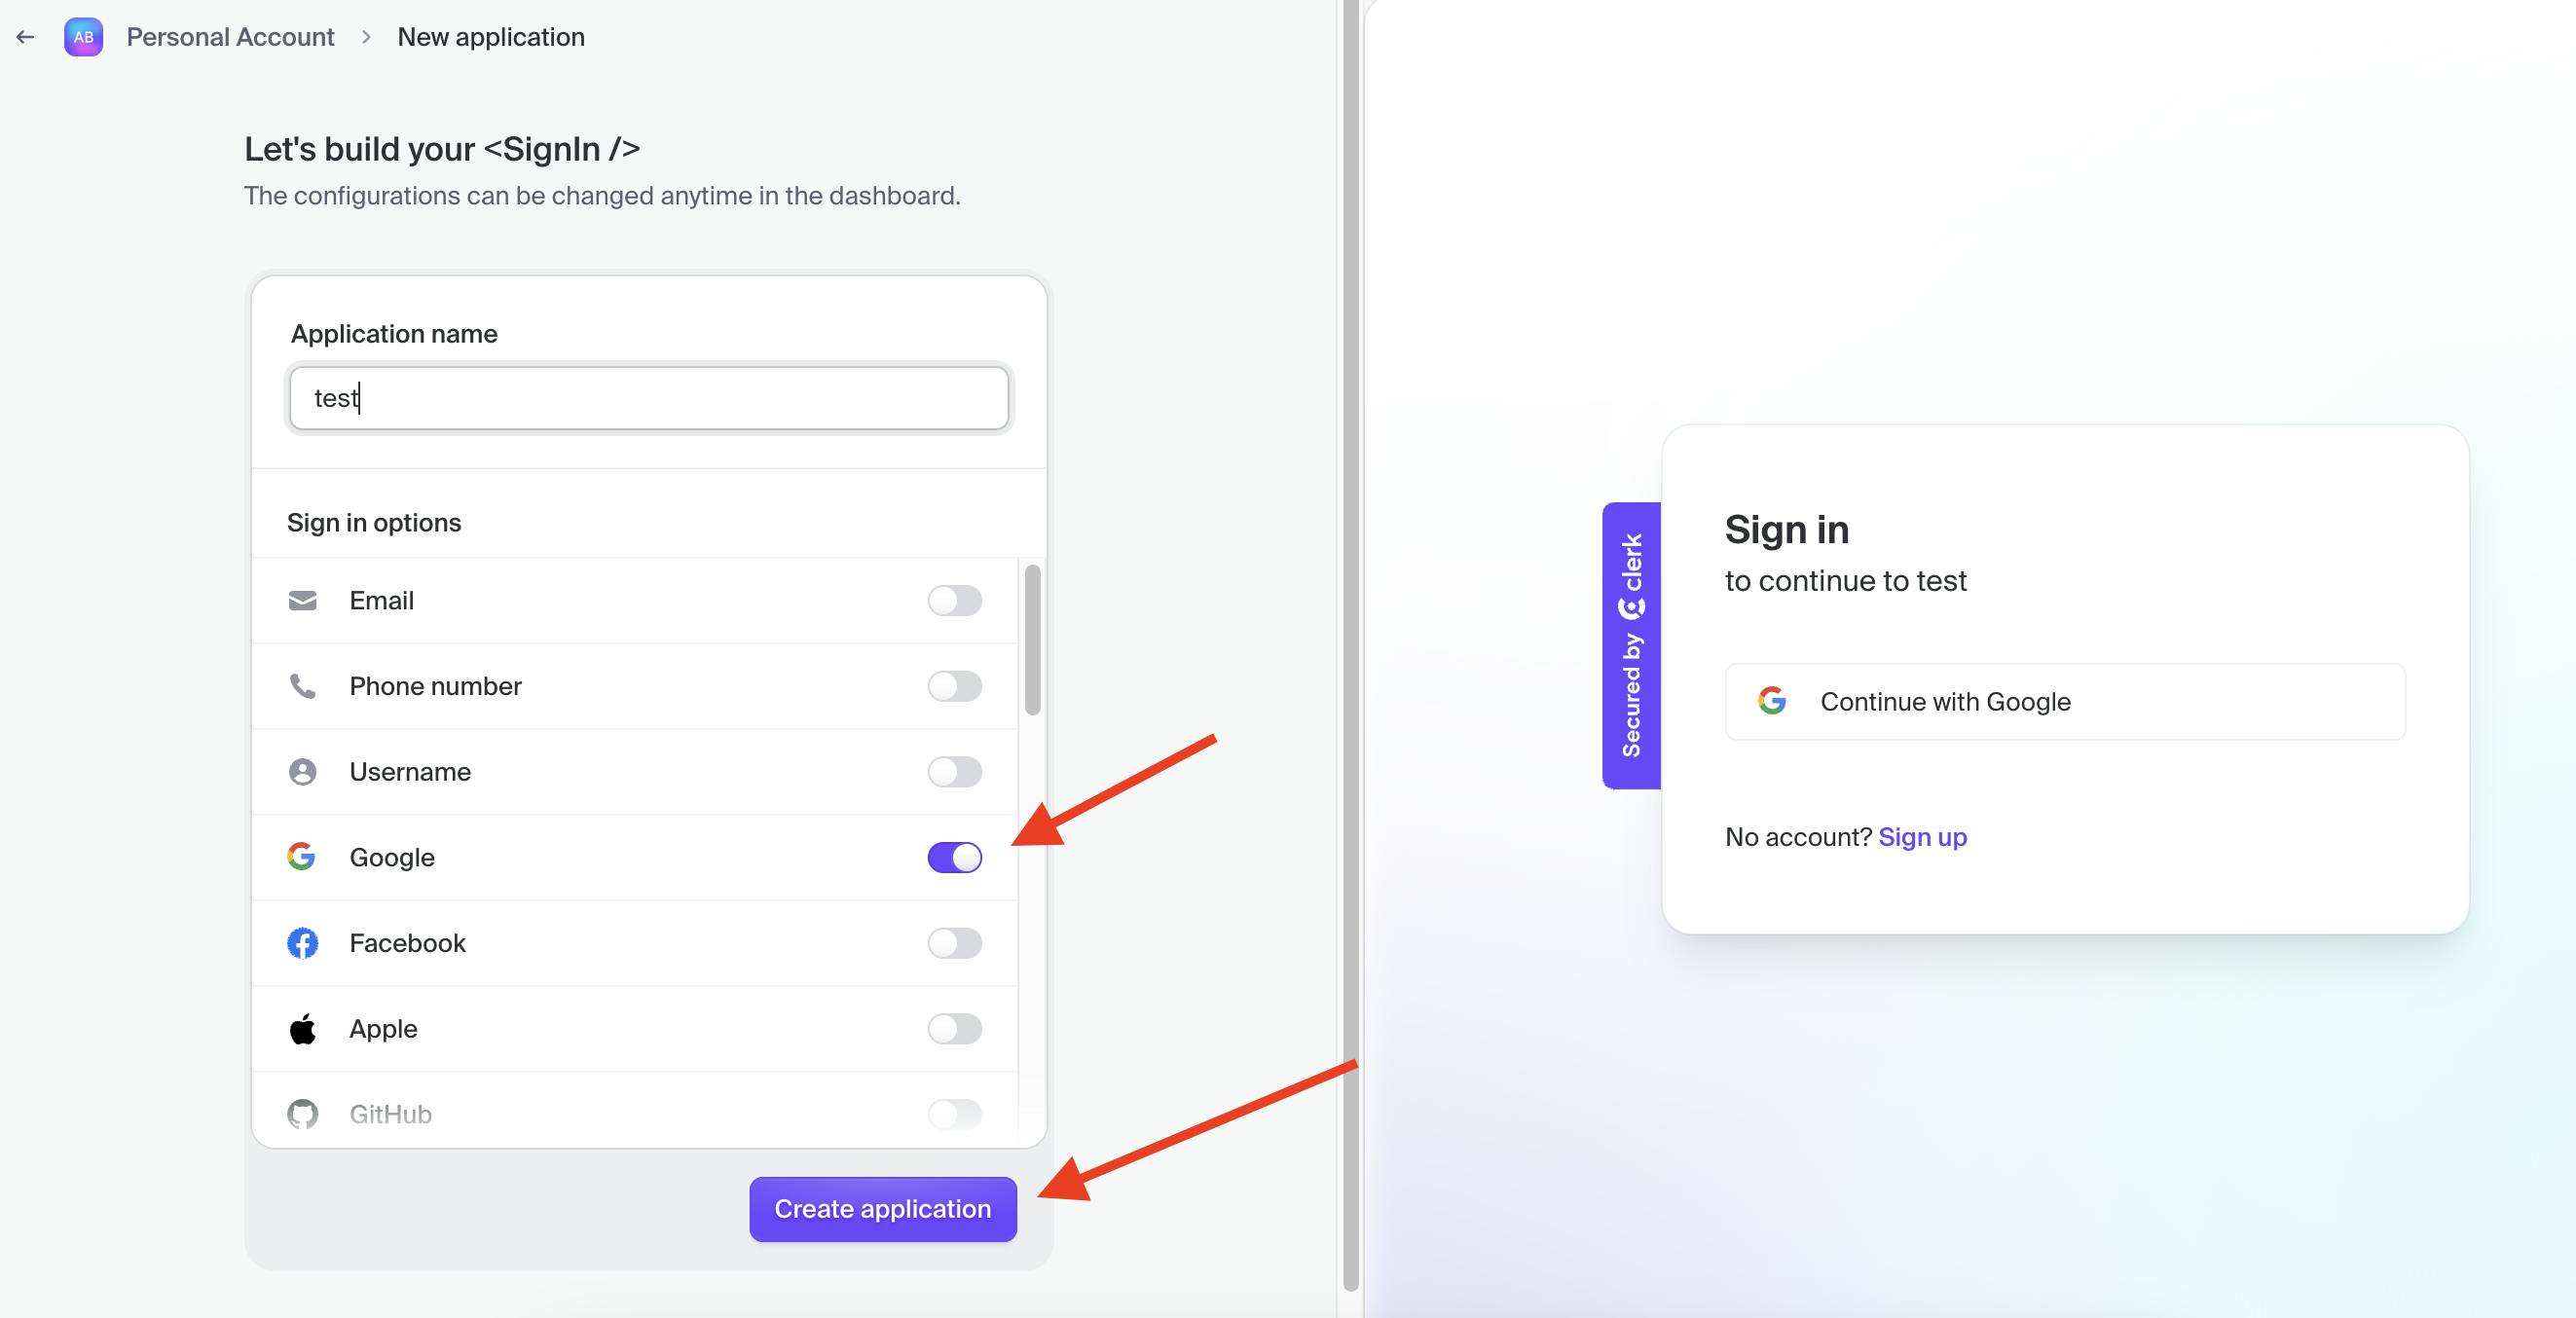
We have used clerk authentication in this project. Visit the Clerk website and then create an account. Click on Create New Application then give the application name and select Google Authentication. You can choose which ones you want.
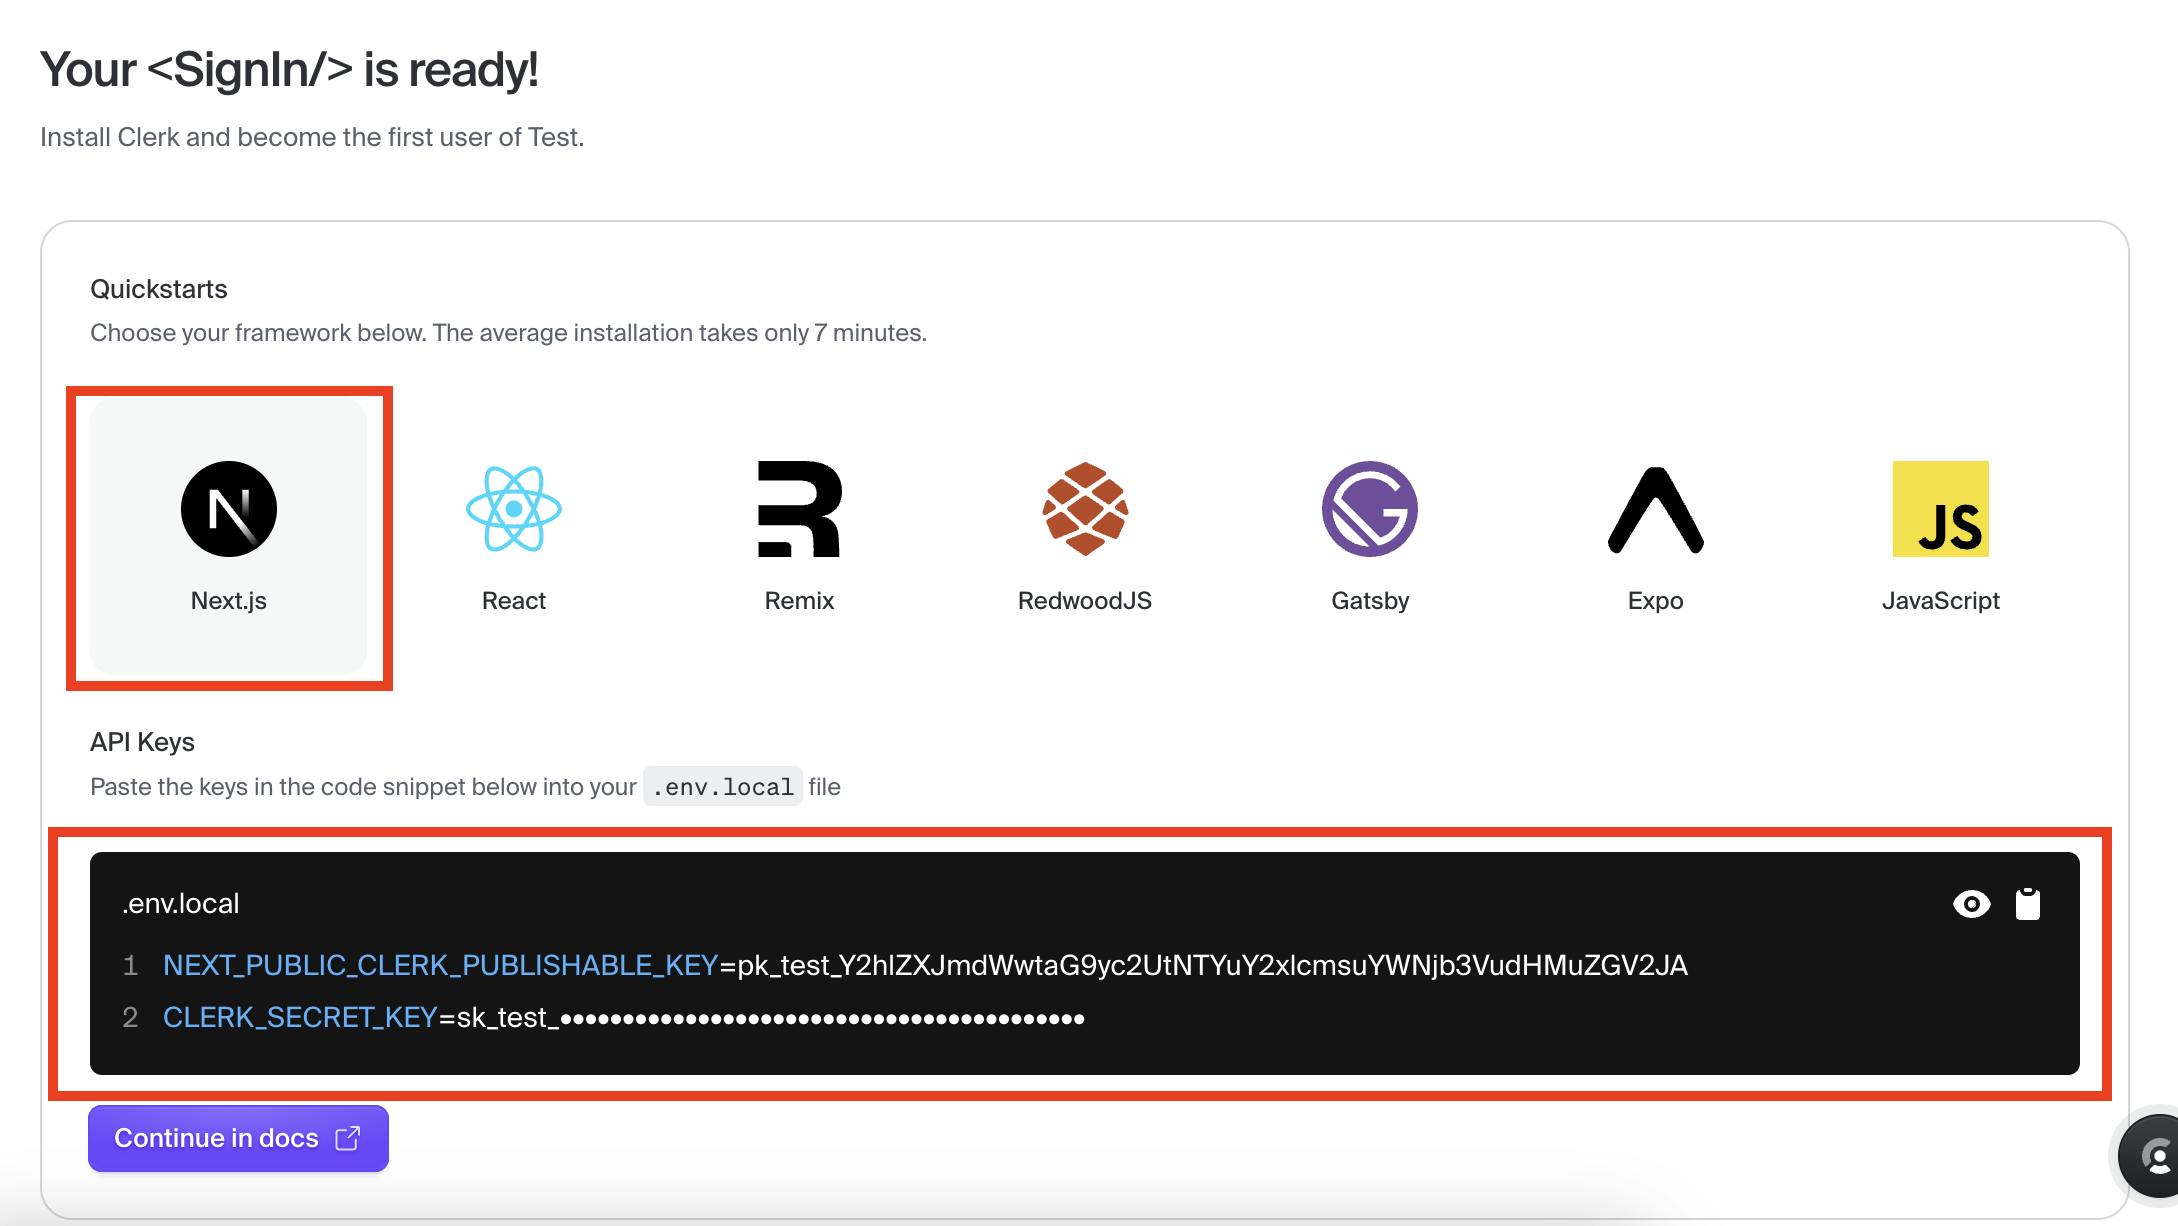
Now copy both these keys and paste them into the .env file.
Now all the steps have been completed. Go the terminal and run the following command.
npm run dev
Now visit localhost and the website would be running fine.