 Aniket Bindhani Blog
How to add convertkit form in hashnode
Well recently I have again started writing articles on this blog and I plan on continuing it. Earlier I used to run another blog on a different niche and I was using WordPress for it. There I used to have a column where I would add a newsletter section. Also, I would have a popup for my newsletter.
When I started writing articles on hashnode, I was amazed to find out that it has a built-in newsletter feature. After using it I found that it does not have a lot of features like you can't send a personalized newsletter and whoever wants to subscribe to your newsletter has to create an account on hashnode.
So, I started using convertkit to add a newsletter to all of my posts.
Sign up for convertkit
Sign up for a free account on convertkit and sign in to your dashboard.
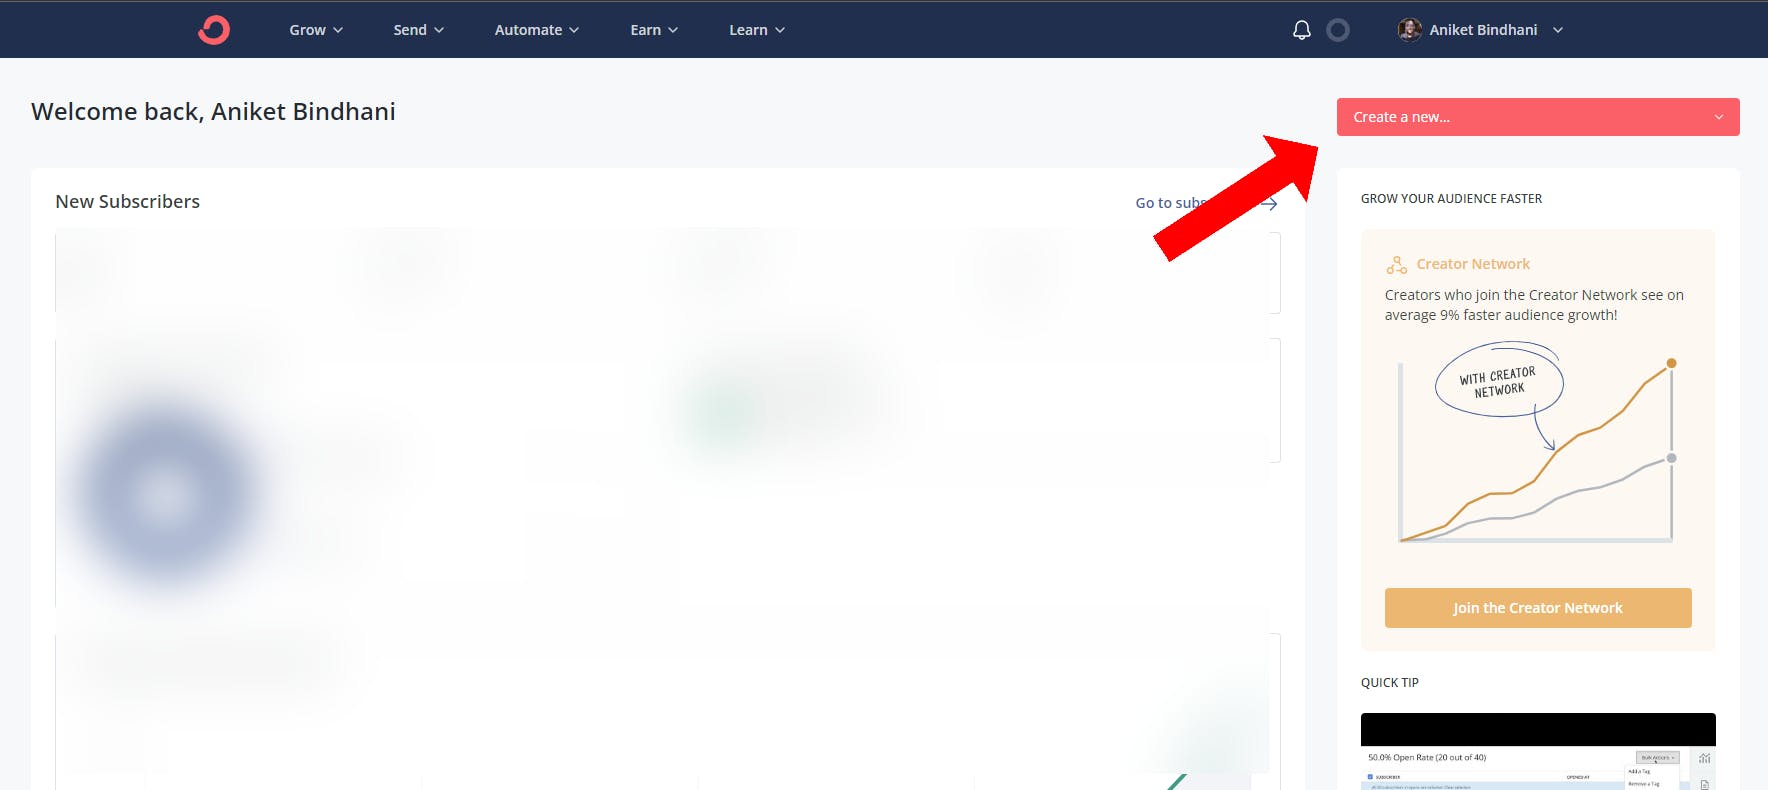
Click on Create New and choose forms.
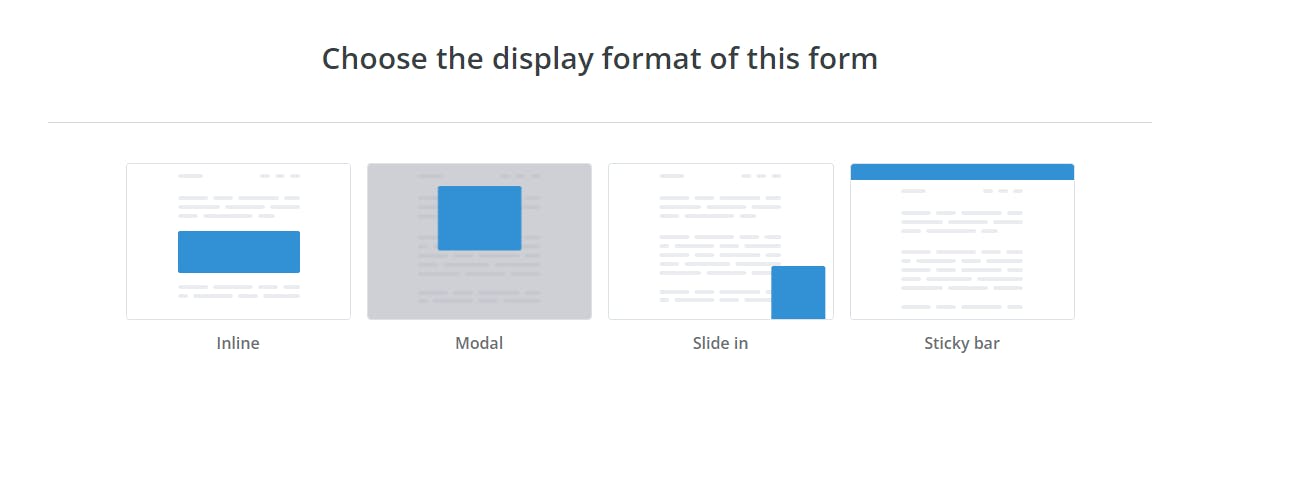
Choose the Inline forms as we will integrate them inside our posts.
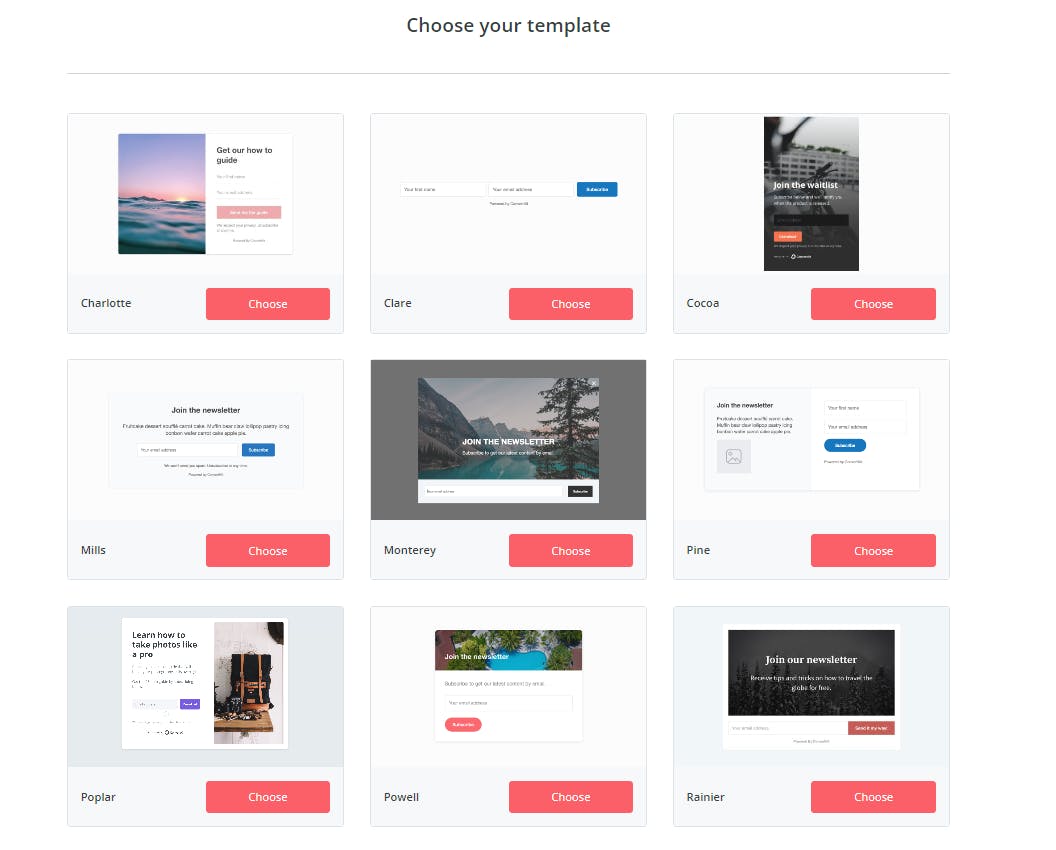
You get a lot of free templates to choose from. For simplicity, I will go with the Mills form.
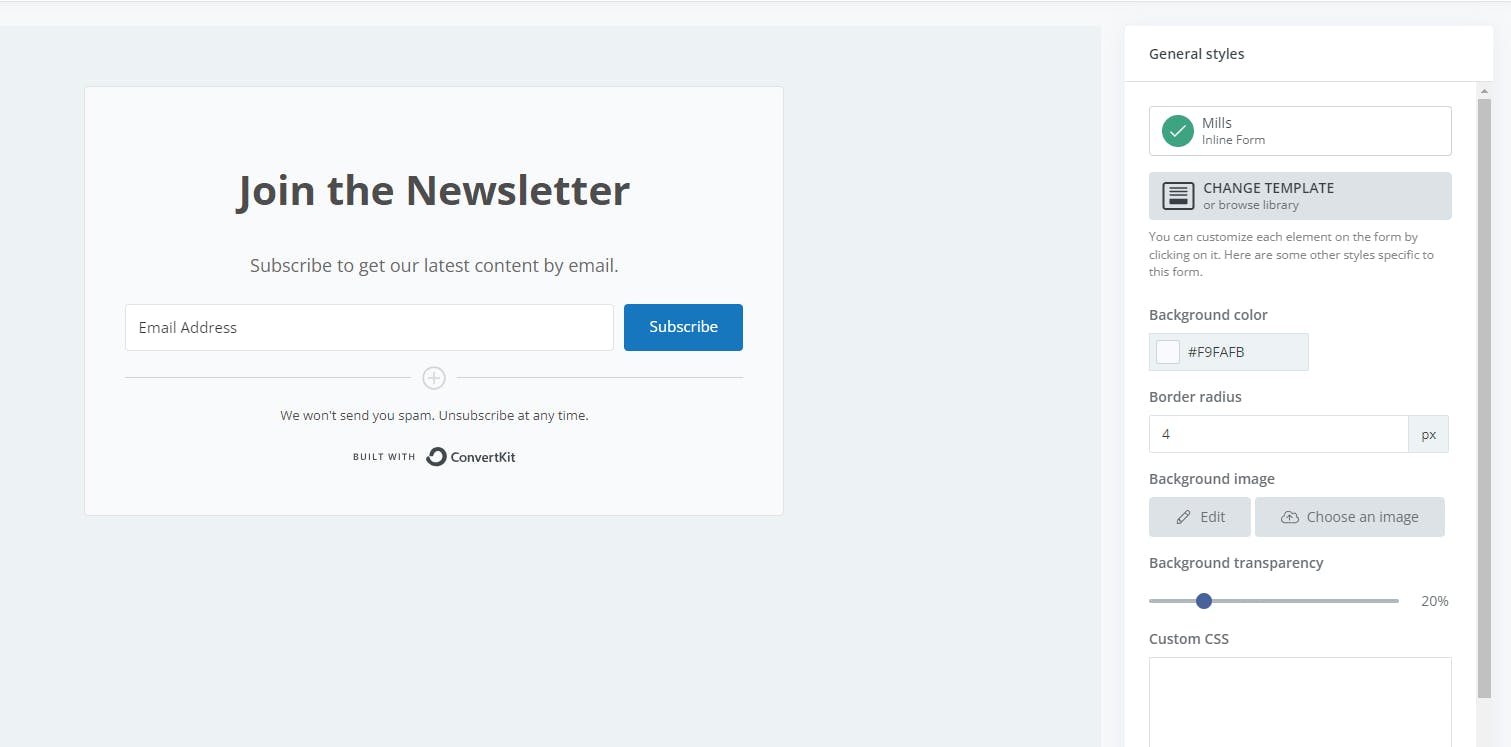
You can style the form according to your wish. Now click on publish.
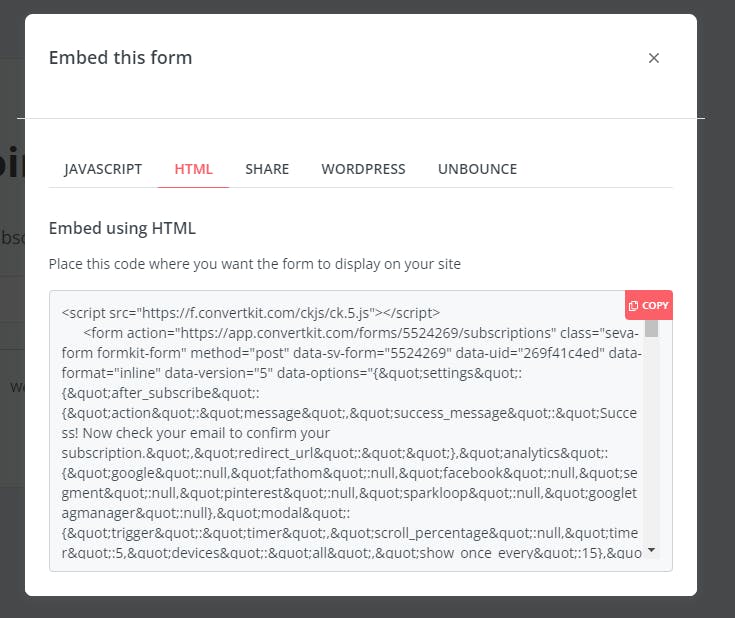
You will get this popup where you have the option to choose where you want the form to display. Click on HTML and then copy the code.
Now move into your hashnode blog dashboard. Click on the widget and create a new widget.
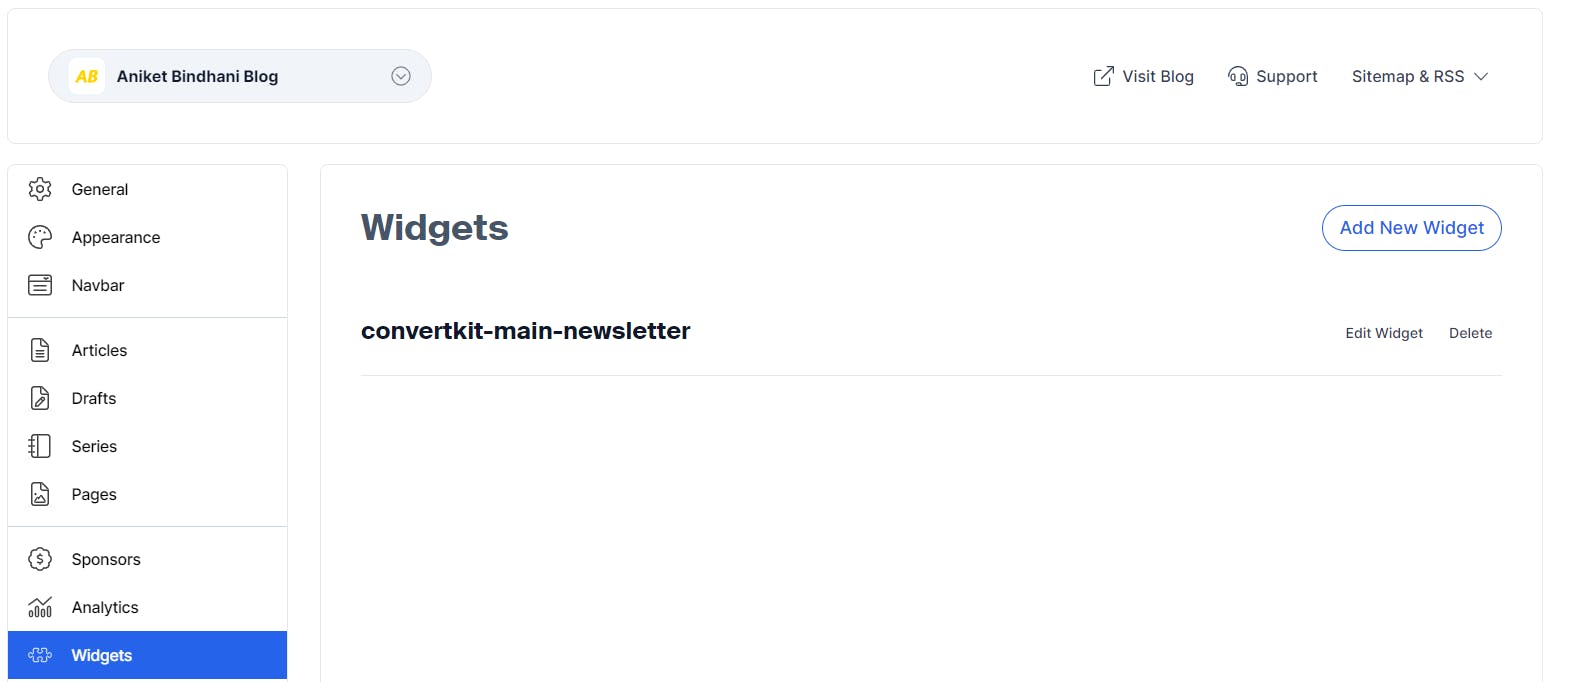
Now paste the HTML code that you copied and add a widget ID. Now click on Create.
Now to add the newsletter form, go to any of your posts and add a widget in the place where you want to add the form. I usually add this at the end of the article.
Final Result
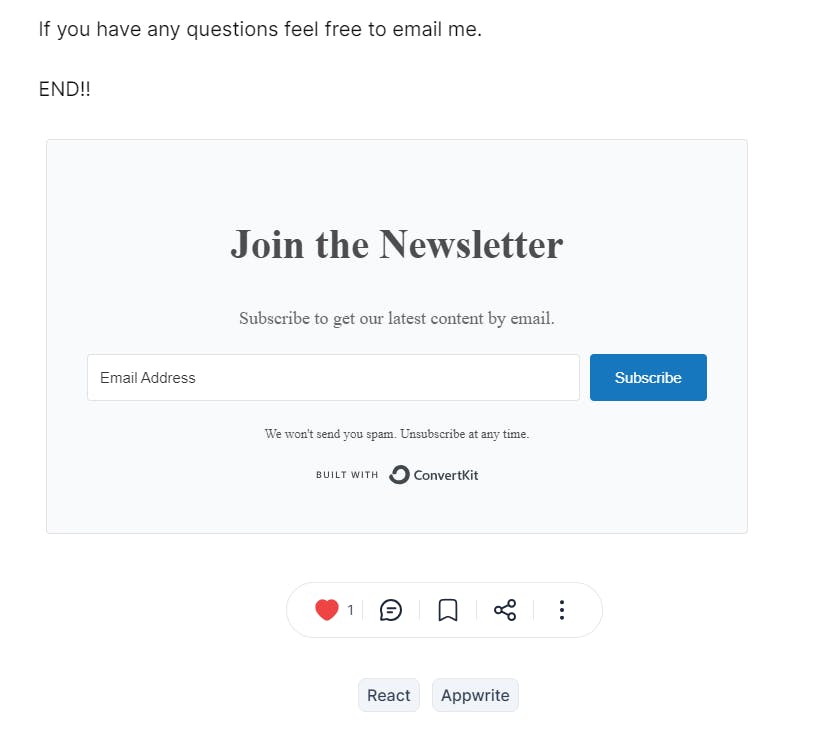
That's it. It is as simple as that. You can even change more styles but I would like to leave it in default.
Ta Da