 Aniket Bindhani Blog
Chat Application using React + Appwrite
Hello, Aniket here. I am writing an article after such a long time. In this article, I will show you how I created a chat application in React using Appwrite.
First, let me tell you about appwrite. Appwrite is an open-source backend as a service (BAAS) platform that provides developers with core APIs to build any application.

In simpler words, appwrite is a platform which we can use to build any app without worrying about the backend part like databases, authentication, etc.
How did I approach it?
First, sign up on the Appwrite platform. You will get this interface after you create an account.
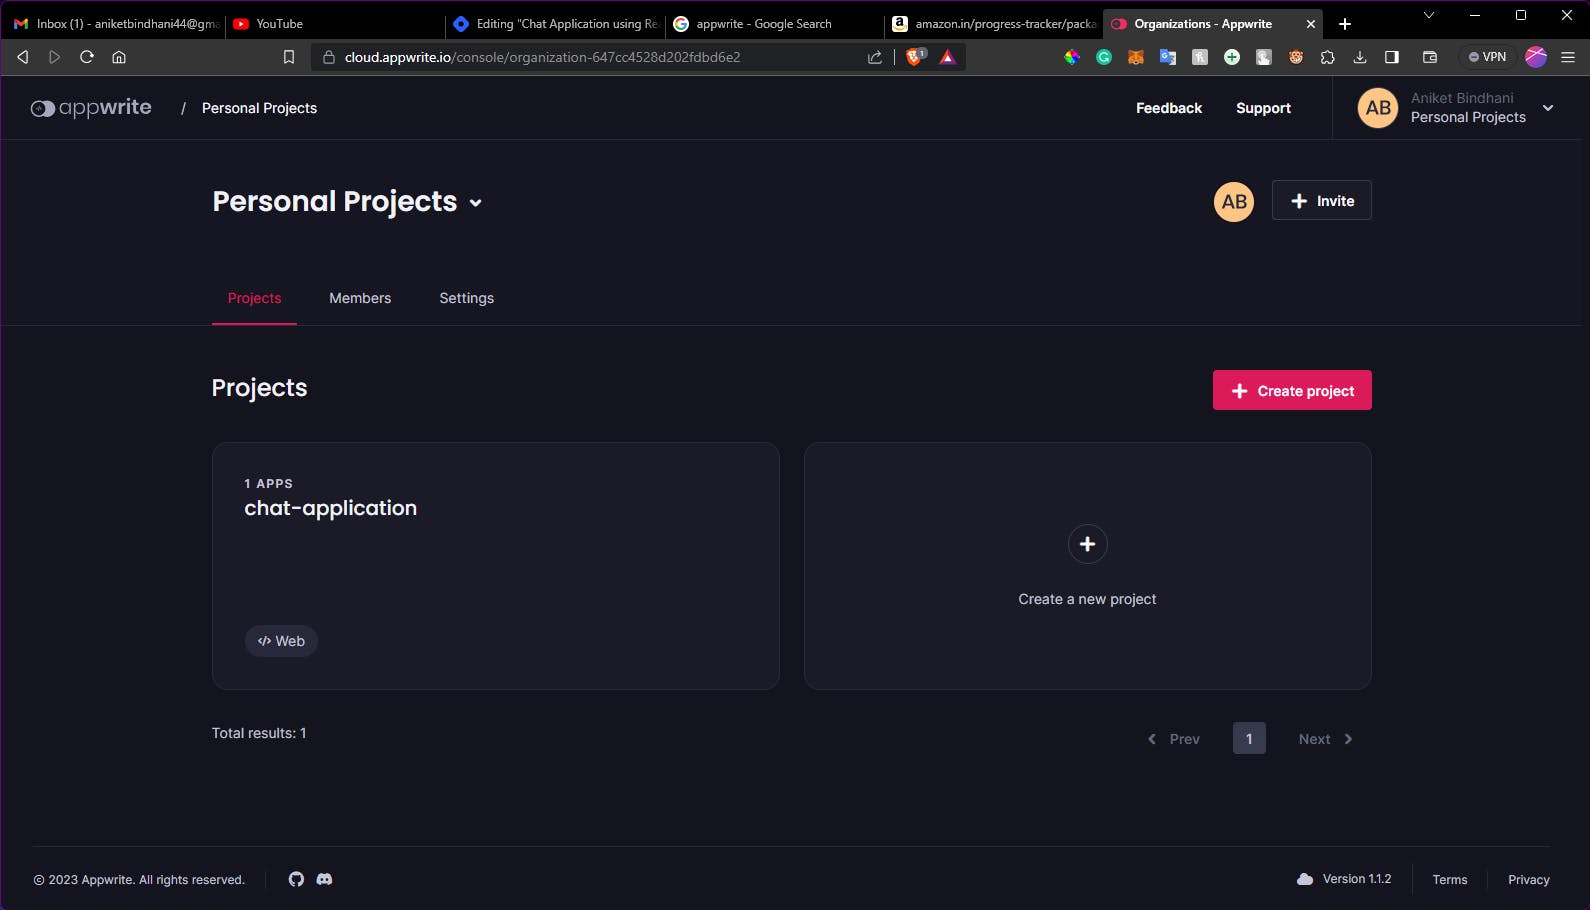
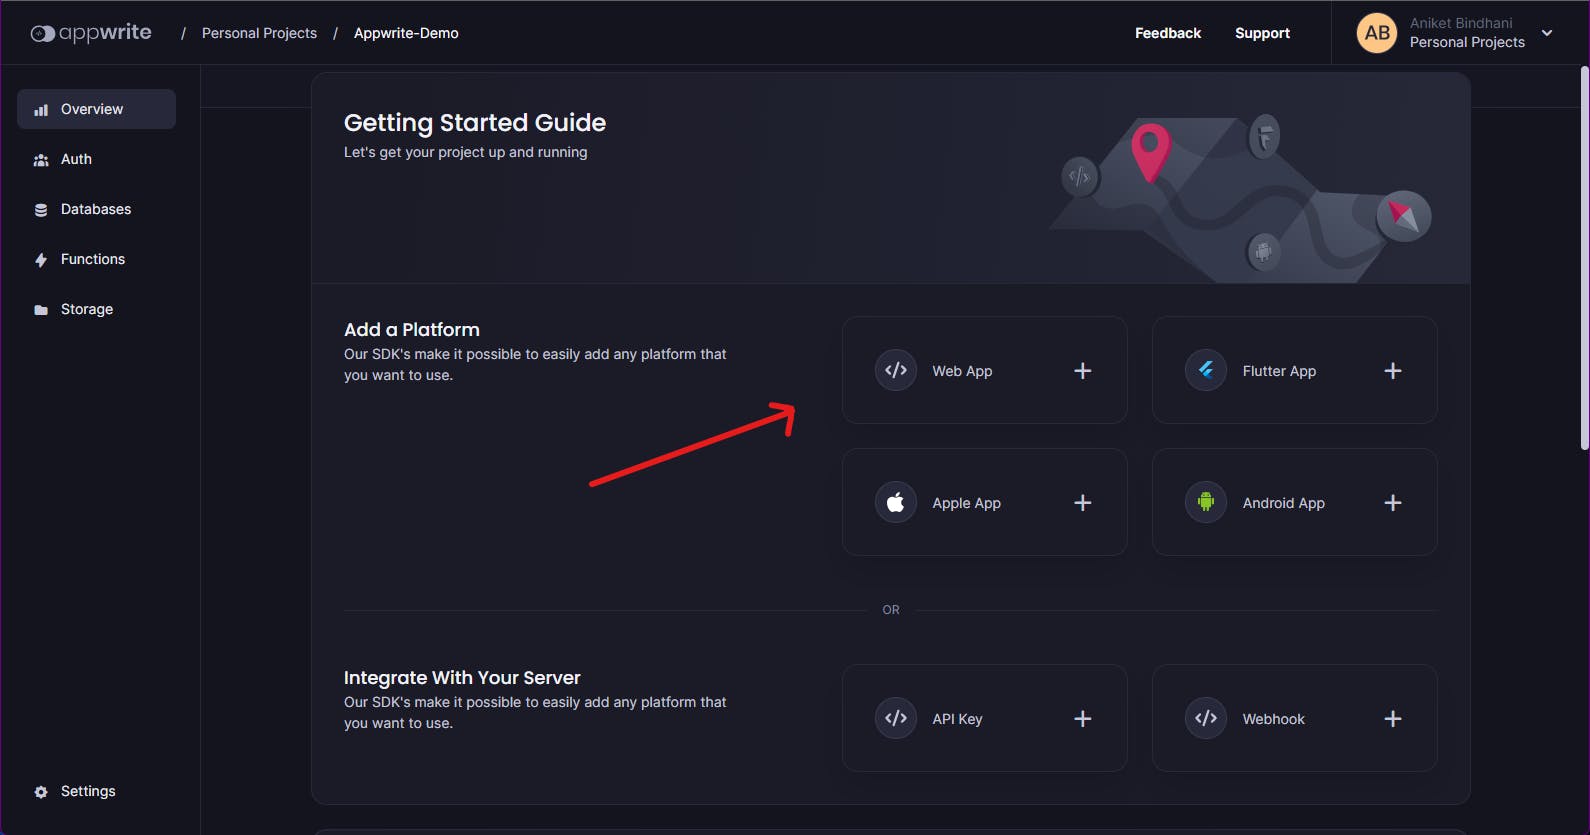
Click on the plus icon to create a new project. Here you can create a web app, a flutter app and both Android and ios applications. Select the web app option.
Give a name for your web application. Enter the hostname as localhost as we will be running it locally on our machine.

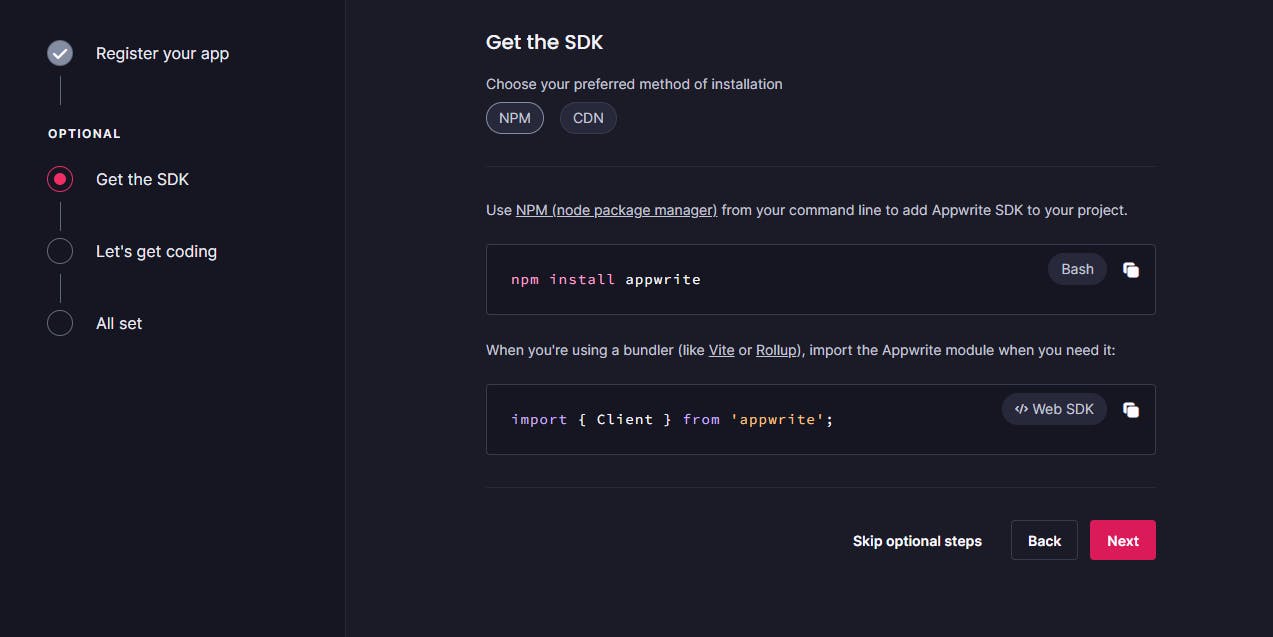
You can skip this package installation step, as I will provide you with the source code.
Click on databases on the left side of the dashboard and create a database. Now we need to create a collection. Click on create collection.
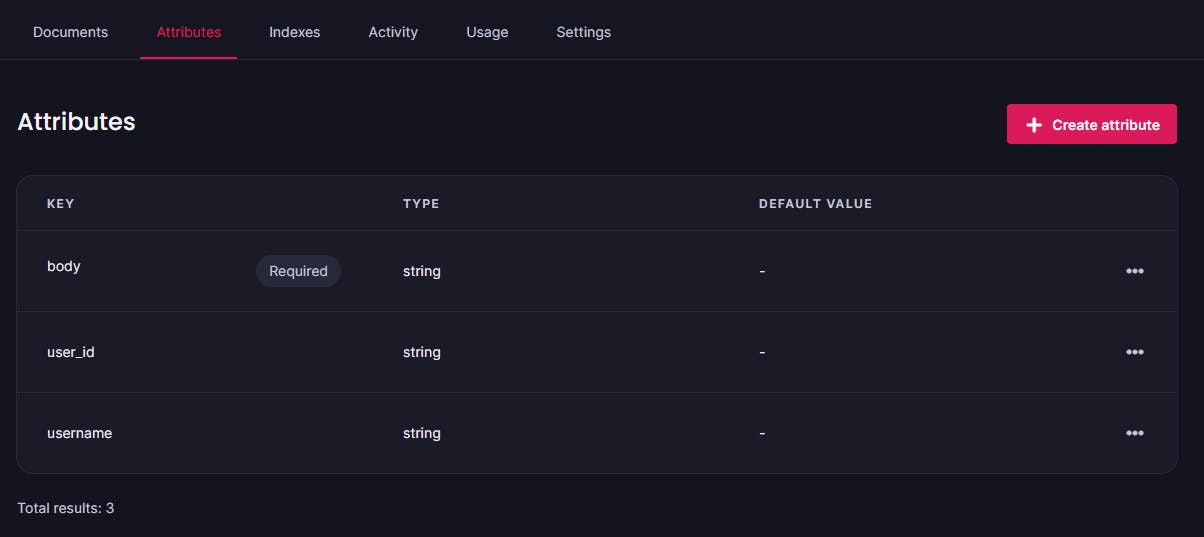
Click on Create attribute and create these three attributes. The types should be string and make sure the body field is required.
Now click on settings and here we will set permissions.
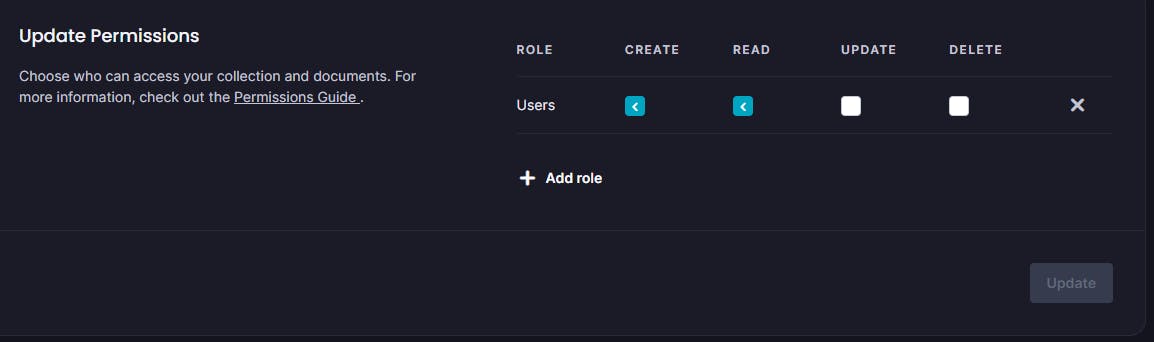
Just copy the settings shown in the above image.
Now all the appwrite configurations have been done. Now download the source code from the git repository.
Changes you have to make
This project has been made using the Vite. So after you cloned the project, then open the project in your preferred code editor and in the terminal, run the following command.
npm i
Make sure you have NodeJS installed on your computer. This will install all the packages and dependencies that you will need to run the project.
Now, you need to create a .env file in which we will store the environment variables we require for this project.
Create a file named .env in the root of the project directory and copy the variable names listed below.
VITE_APPWRITE_ENDPOINT=''
VITE_APPWRITE_PROJECTID=''
VITE_DATABASE_ID=''
VITE_COLLECTION_ID_MESSAGES=''
Now here you need to add the information from your appwrite cloud dashboard.
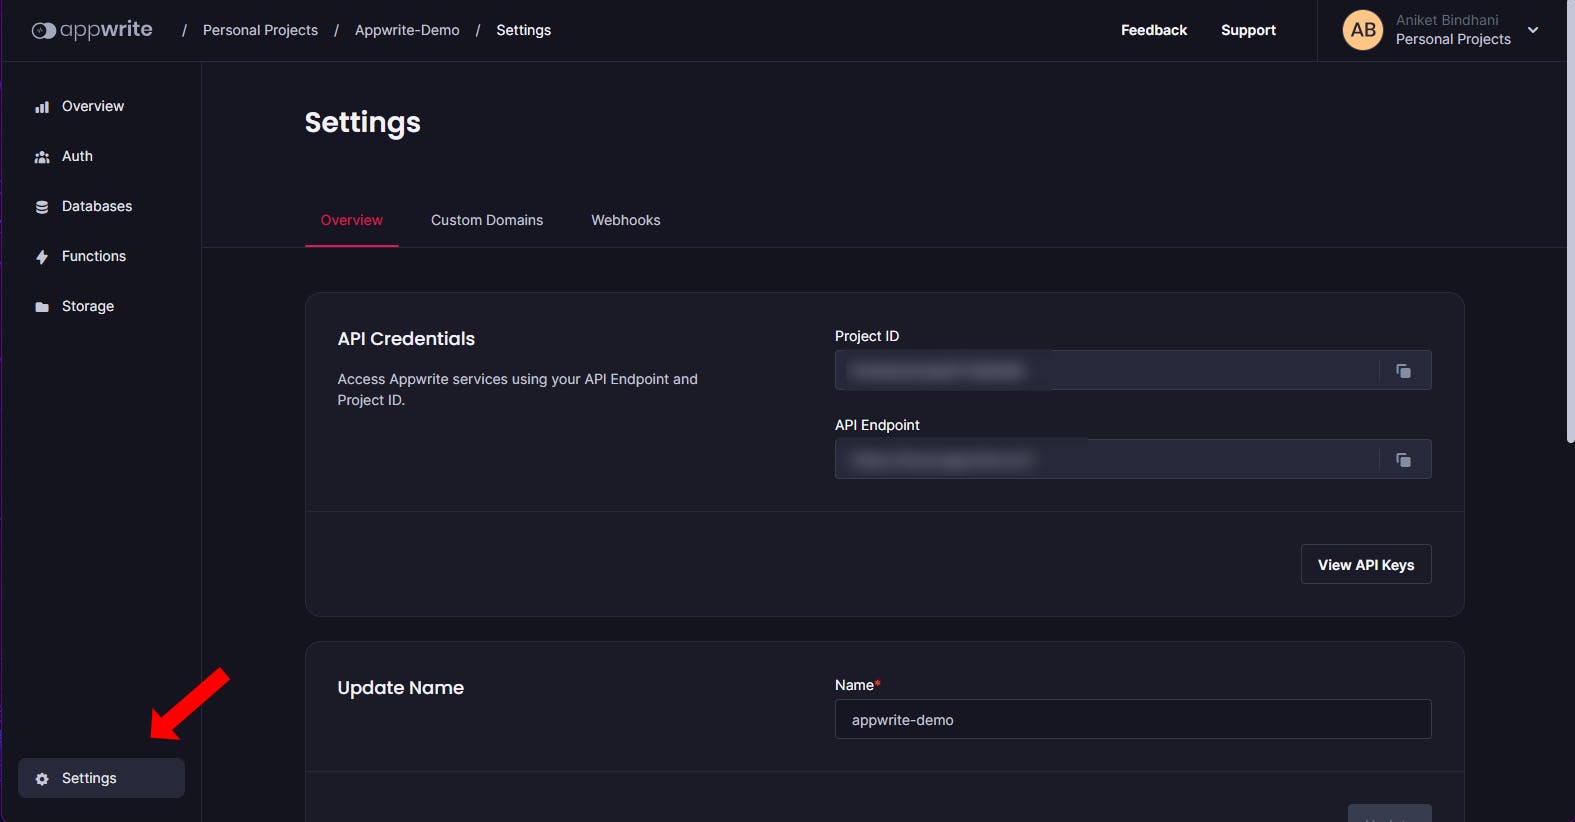
Copy the API Endpoint and assign it to this variable VITE_APPWRITE_ENDPOINT=''
Do the same with the project ID. For the database id click on databases and there you will get it.
Lastly for the collection id for the messages click on databases/collection and there you will find the collection id. Now after this, you are ready to launch your project.
Open the terminal and type:
npm run dev
Your project will open in https://localhost:5173/
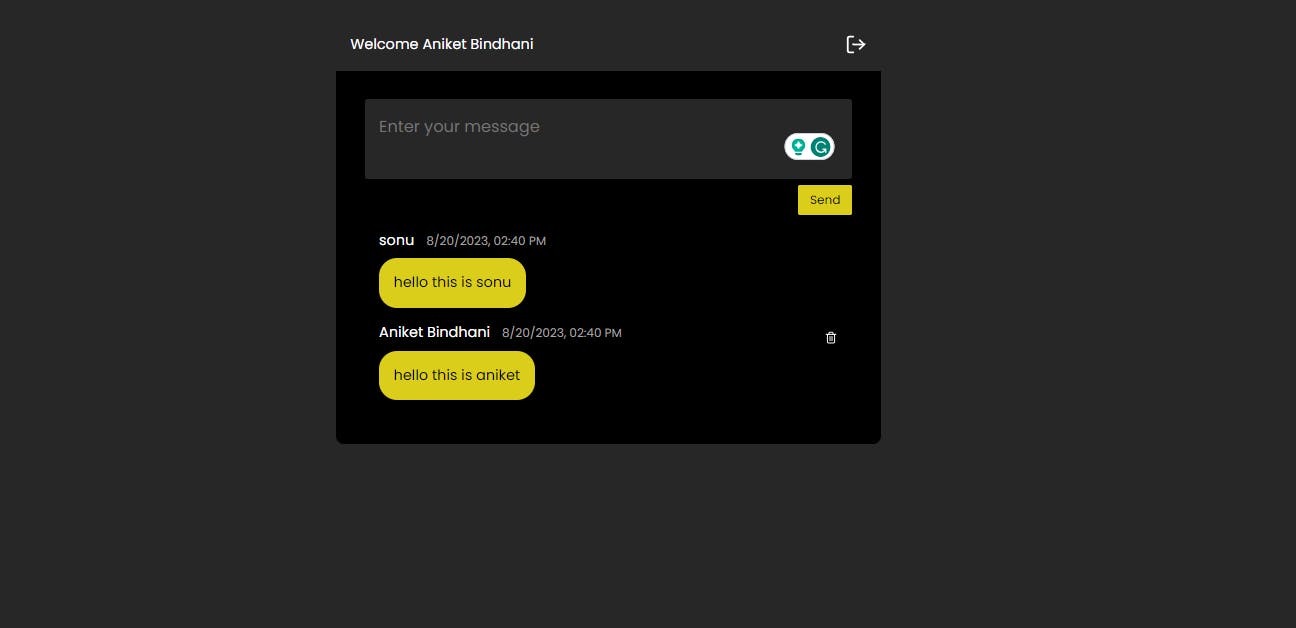
You need to create an account here. After you log in you will see something like this.
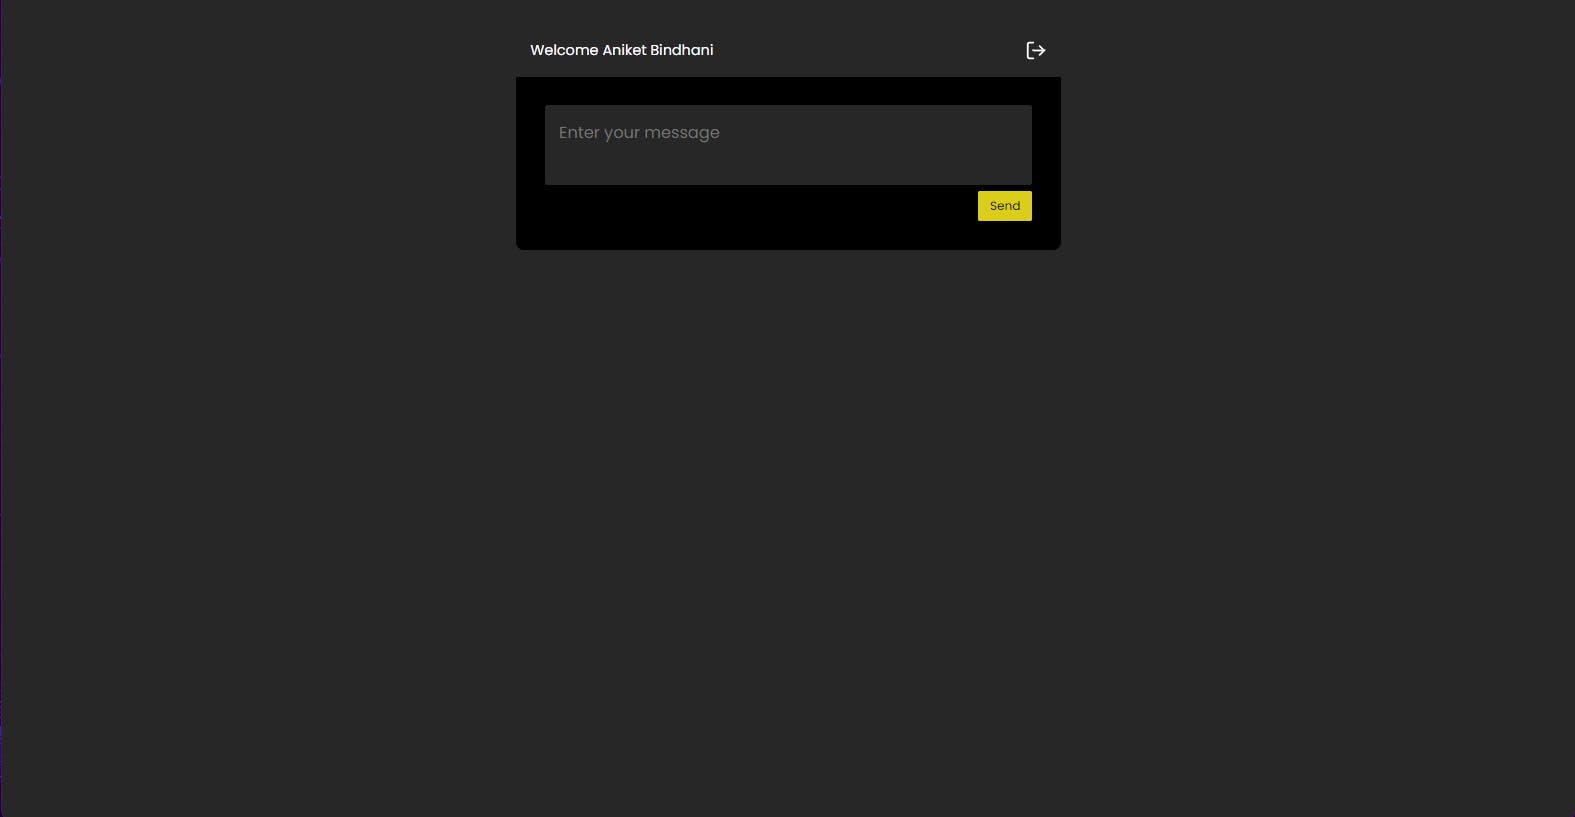
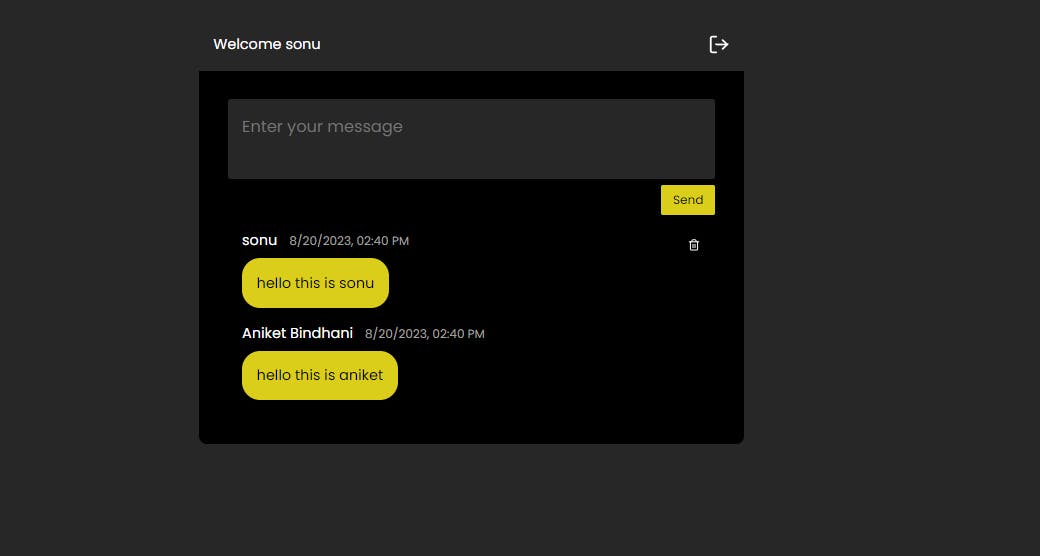
You can enter messages and delete them. To check the real-time messaging function, localhost:5173 in another incognito tab and create another account there. Now try sending a message from one account and you will see, you receiving a message in the other tab.
Currently, this only works in the local version. I will continue upgrading it in the future and if you want to add any feature or make changes, you can do that by raising a PR on the GitHub repository.
If you have any questions feel free to email me.
END!!